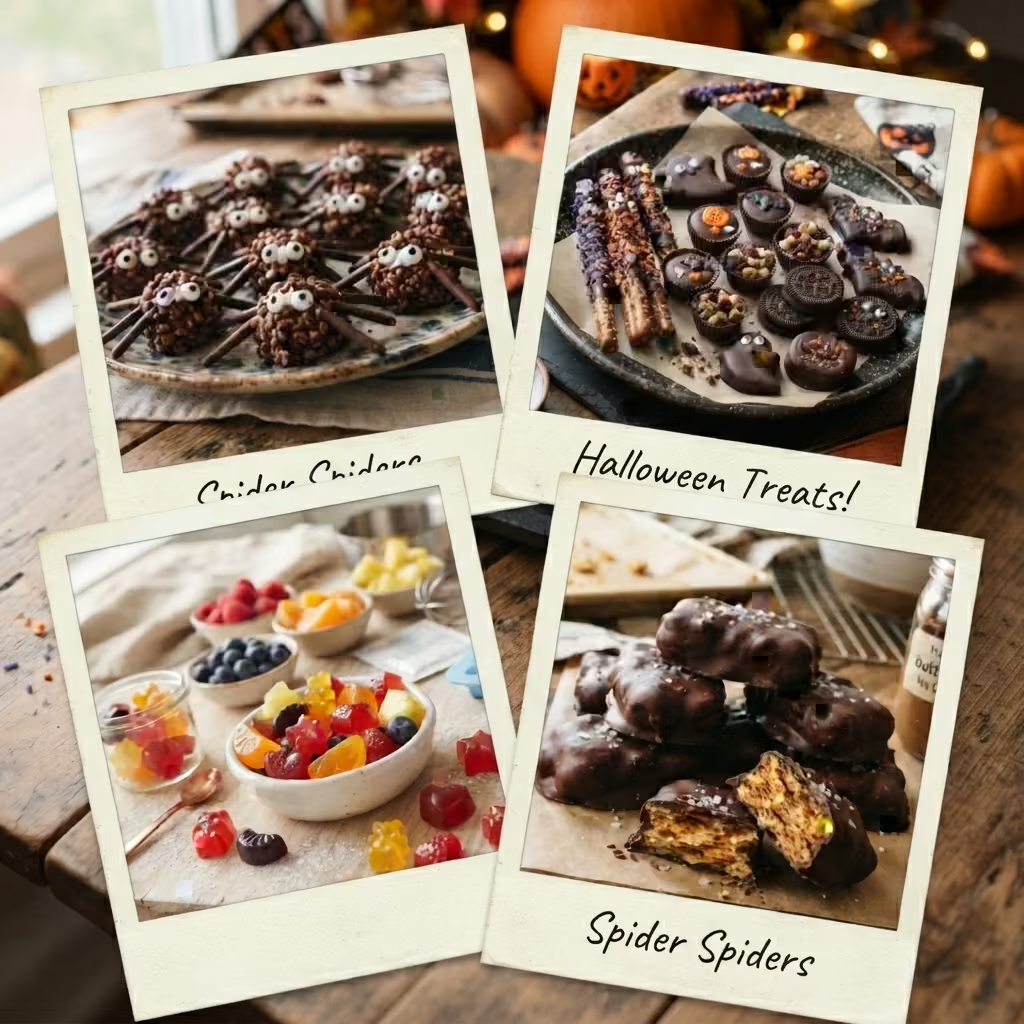
Spooky Halloween candy sweets you can make in your own kitchen, from no-bake beginner treats to old-fashioned cooked candy.
Forget the shrink-wrapped, mass-produced stuff. There is something almost magical about making Halloween Candy at home. It is more than a sweet treat; it is an experience: getting your hands sticky, filling the kitchen with the smell of melting sugar and chocolate, and creating something that feels genuinely special. Whether you are a seasoned confectioner or a total beginner who has never touched a candy thermometer, this guide is your one-stop resource.
Below you will find 13 Halloween Candy recipes organized by difficulty and type, plus the troubleshooting advice, safety notes, and storage tips that separate a frustrating kitchen experiment from a flawless, professional-looking batch. Let’s turn your kitchen into the best candy shop on the block.
Why Make Halloween Candy at Home? (It’s Not Just About Saving Money)
Saving a few dollars compared with store-bought bags is a nice bonus, but the real reasons go deeper. You control the ingredients, so you can choose better chocolate, natural food colorings, and skip additives you would rather avoid. You can customize every Halloween Candy batch for your crowd: nut-free, vegan, less sweet, or flavored with something unexpected like chili or sea salt. It is also a hands-on activity families remember, whether that means rolling popcorn balls or dipping pretzels. And showing up to a party with a platter of glossy, handmade treats is a guaranteed way to impress.
Your Candy-Making Toolkit: Essential Equipment and Ingredients
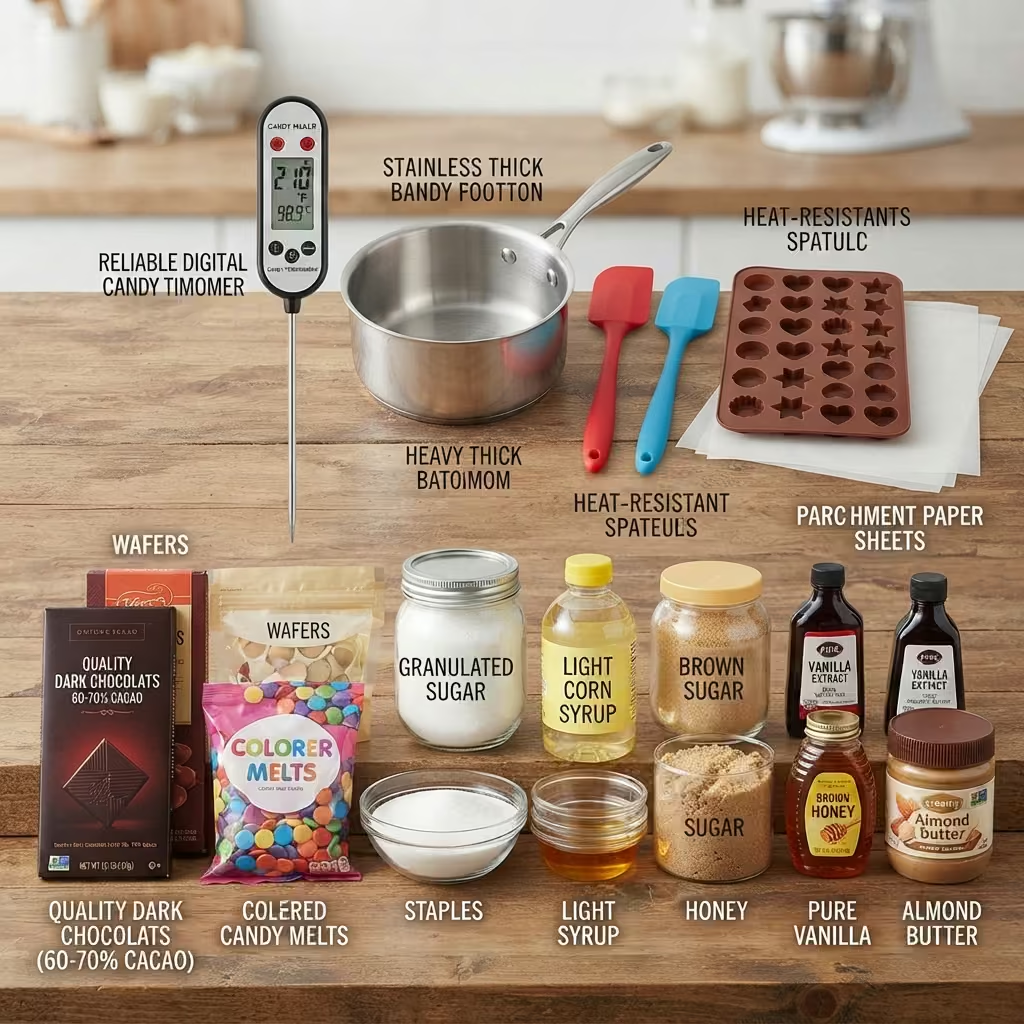
You do not need a professional kitchen, but a few tools make all the difference.
Essential gear. A reliable digital candy thermometer is non-negotiable for cooked candies like taffy, toffee, and hard candy. A few degrees can be the difference between soft chews and rock-hard, tooth-breaking candy. You will also want a heavy-bottomed saucepan for even heat, heat-resistant silicone spatulas, silicone molds for chocolates and gummies, and plenty of parchment paper for setting and wrapping sticky candies.
Check your thermometer first. Water boils at 212°F (100°C) at sea level. Test your thermometer in a pot of boiling water and note the difference. If it reads 210°F, subtract 2°F from every target temperature in the recipes below. Altitude matters too: water boils about 1°F lower for every 500 feet above sea level, so adjust your targets the same way.
Pantry staples. Good chocolate is the single biggest upgrade you can make. For molding, dipping, and shells, use quality chocolate bars (60 to 70 percent cacao for dark) or chocolate wafers, because chocolate chips contain stabilizers that keep them from melting into a smooth, glossy coat. Chips are fine for casual recipes such as bark and no-bake clusters, where a perfect shine does not matter. If you want an easy, forgiving coating for dipping, candy melts (also called candy wafers) are a good shortcut. You will also need granulated sugar, light corn syrup (which helps prevent crystallization), brown sugar, honey, pure vanilla extract, and nut butters.
Homemade Halloween Candy Recipes for Every Skill Level
The recipes are grouped so you can quickly find what fits your time and confidence. Temperatures are given in both Fahrenheit and Celsius, and most ingredient amounts include US and metric measures.
No-Bake and Beginner-Friendly (No Thermometer Required)
These are perfect for involving kids or for a last-minute treat.
Halloween Candy: Chocolate Crackle Spiders
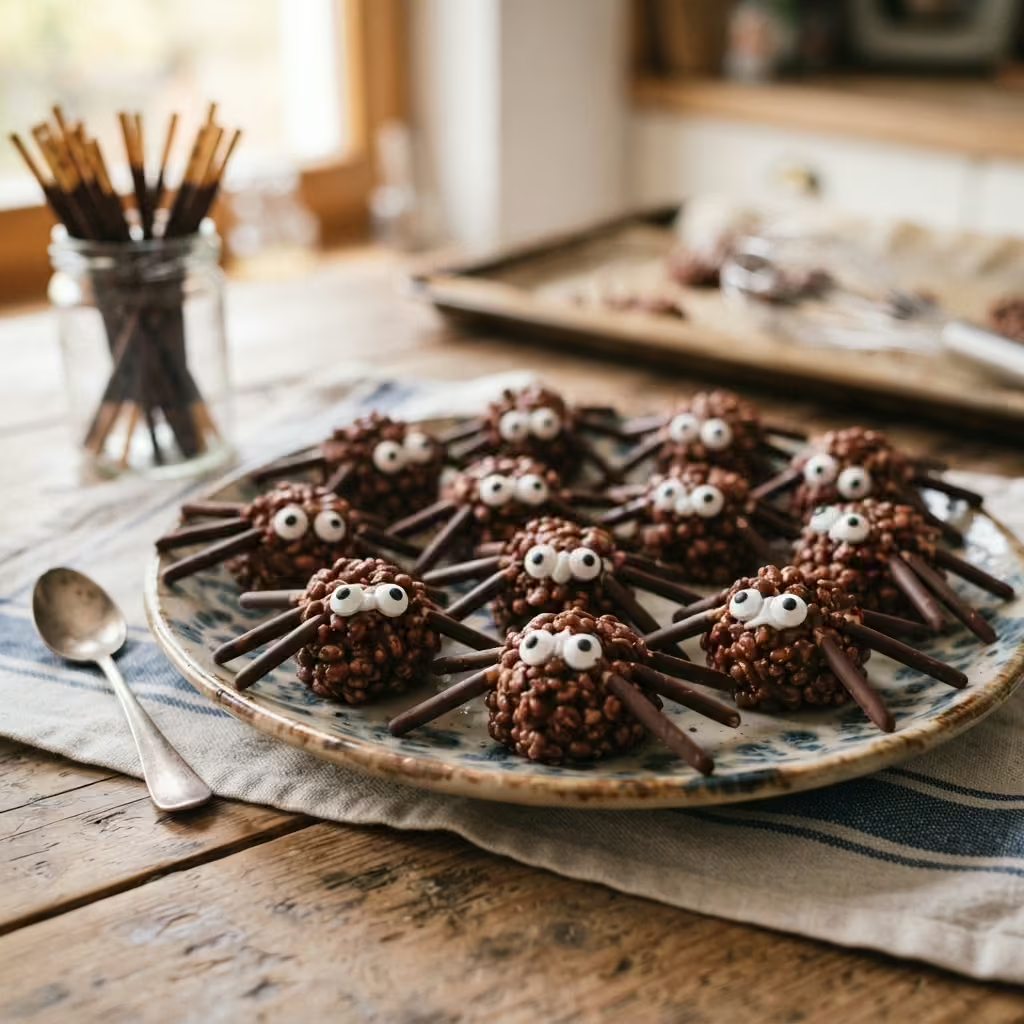
These nos talgic, crunchy treats come together with almost no effort and are a guaranteed crowd-pleaser. Three ingredients, plus eyes.
Ingredients (makes about 20): 12 oz (340 g) dark or milk chocolate, ½ cup (125 g) creamy peanut butter (or sunflower seed butter for a nut-free version), 4 cups (about 200 g) crispy chow mein noodles, candy eyeballs.
Instructions
- Chop the chocolate and melt it in a microwave-safe bowl in 30-second bursts, stirring each time until smooth.
- Stir in the peanut butter until fully combined.
- Gently fold in the chow mein noodles until they are completely coated.
- Spoon heaped tablespoons of the mixture onto a parchment-lined tray.
- Press two candy eyeballs into each spider before the chocolate sets.
- Refrigerate for at least 1 hour, or until firm.
Halloween Candy: No-Bake Carob Halloween Candy
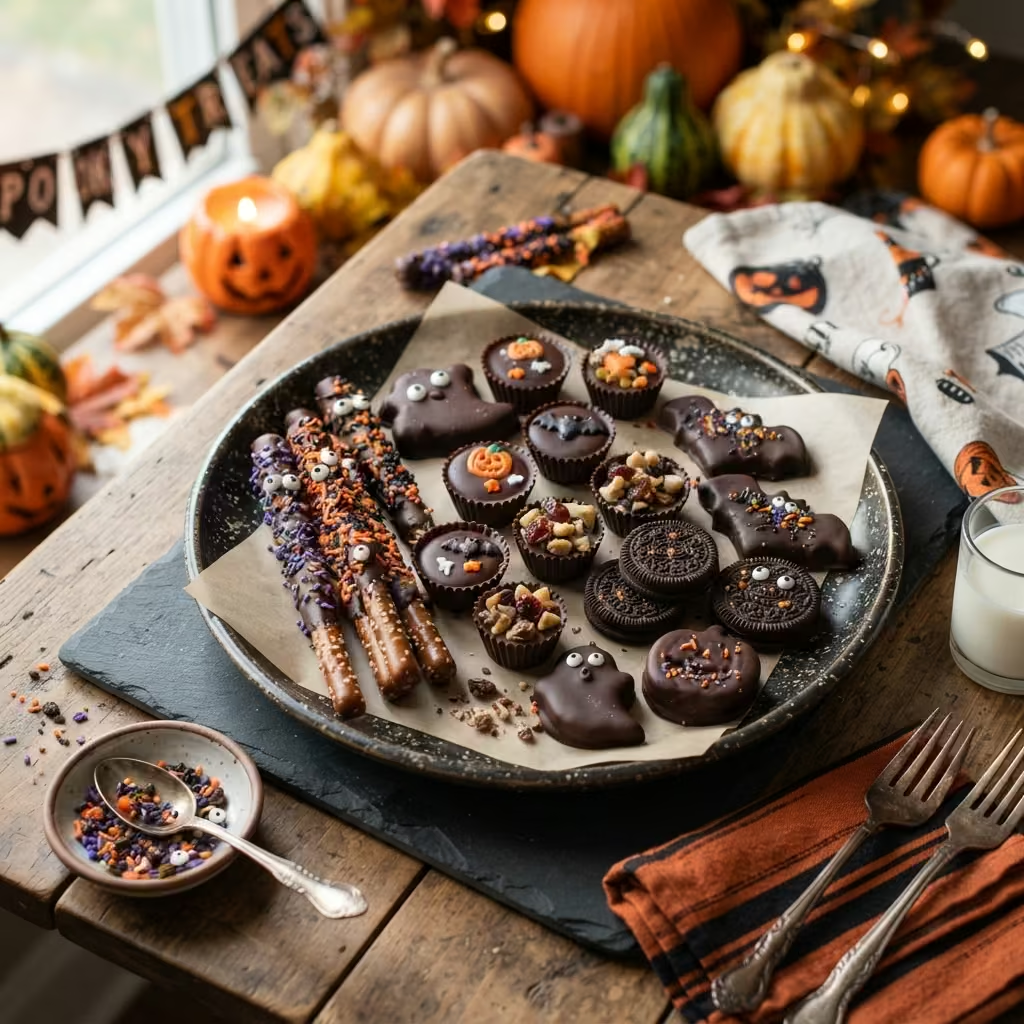
A naturally sweetened, chocolate-free alternative that is smooth, rich, and easy to shape in spooky silicone molds.
Ingredients (makes about 20 small candies): ½ cup (110 g) coconut oil, ½ cup (60 g) toasted carob powder (sifted), 3 to 4 tbsp maple syrup or honey, 1 tsp vanilla extract, ⅛ tsp fine sea salt.
Instructions
- Gently melt the coconut oil in a heatproof bowl set over a saucepan of barely simmering water (a double boiler). Do not let the water boil hard.
- Remove from the heat and whisk in the carob powder, maple syrup, vanilla, and salt until completely smooth and glossy.
- Pour into Halloween silicone molds (ghosts, pumpkins, bats) set on a small baking sheet.
- Refrigerate for 30 to 60 minutes, until completely firm.
- Pop the candies out of the molds.
Storage note: coconut oil softens at around 76°F (24°C), so keep these chilled until you serve them.
Halloween Candy: Easy Fruit Gummies
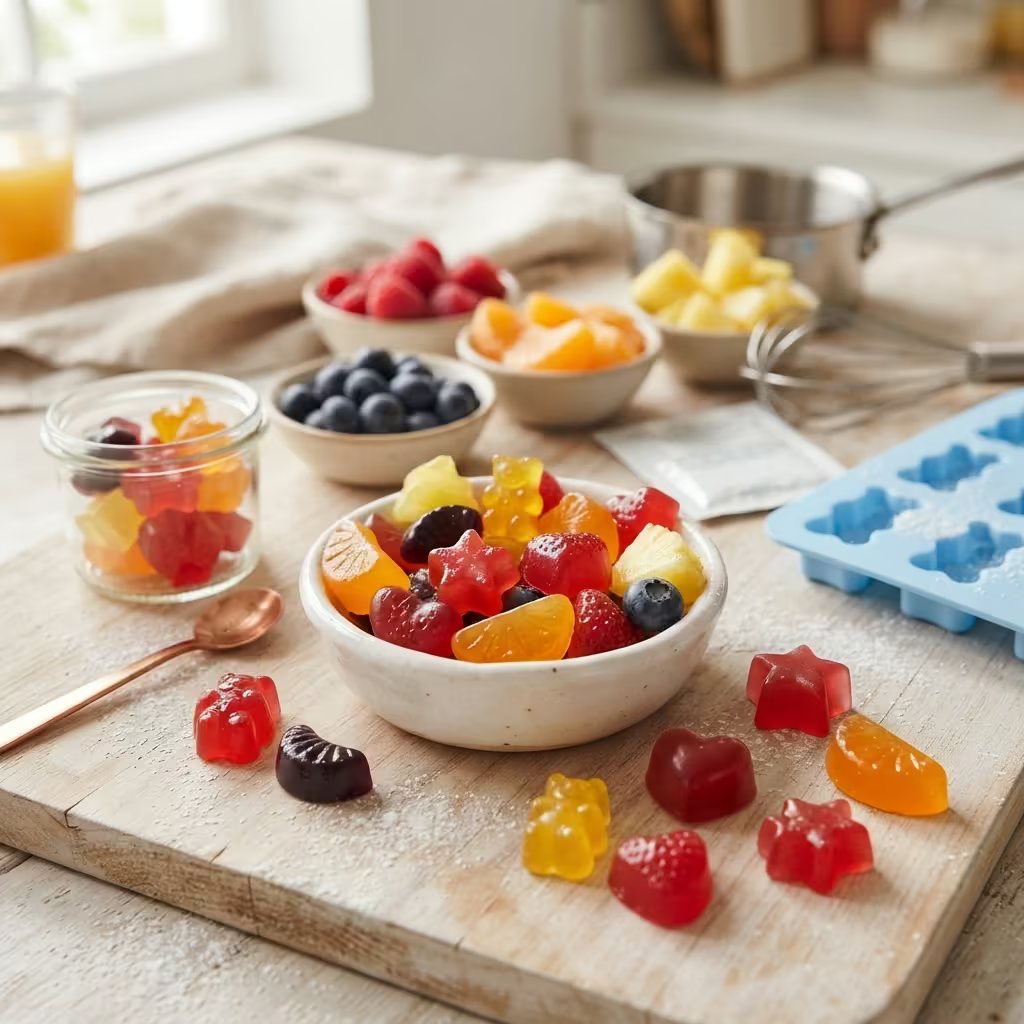
With just three ingredients and about 10 minutes of hands-on time, you can make bright, fruity gummies in any shape you like. They need a couple of hours in the fridge to set.
Ingredients (makes about 40 small gummies): 130 ml (about ½ cup plus 2 tsp) fruit juice (grape for purple bats, orange for pumpkins, or sweetened coconut milk for white skulls), 100 g (about ⅓ cup plus 1 tbsp) granulated sugar, 14 g leaf gelatin (check the package for how many sheets that equals, since sheet strength varies).
Instructions
- Soak the gelatin sheets in a bowl of very cold water for about 10 minutes, until soft.
- Meanwhile, warm the juice and sugar in a small saucepan over low heat, stirring until the sugar dissolves. Do not let it boil.
- Turn off the heat. Squeeze the soaked gelatin firmly to remove excess water, then add it to the warm juice.
- Stir until the gelatin has completely dissolved with no lumps.
- Use a food syringe or silicone dropper to fill your molds to the top.
- Place the molds on a rigid tray and refrigerate for at least 2 hours, or freeze for 15 to 20 minutes if you are in a hurry.
- Press gently from the bottom of the mold to pop the gummies out.
Note: gelatin is not vegetarian. Label these if you are sharing them.
Halloween Candy: Classic Popcorn Balls
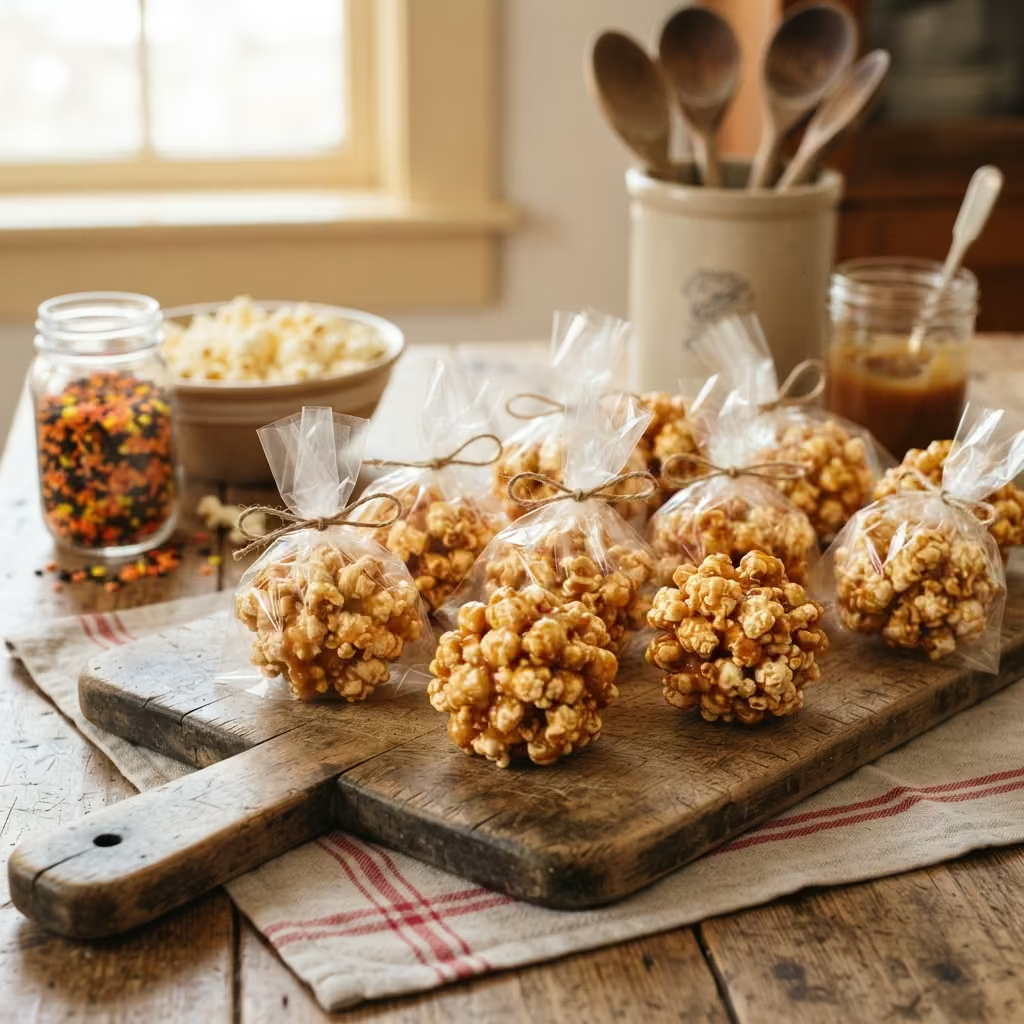
The ultimate nostalgic treat: sticky, chewy, and adaptable to your favorite Halloween mix-ins.
Ingredients (makes about 8 balls): 8 cups popped popcorn (unsalted), 3 cups mini marshmallows, 3 tbsp butter, 1 tsp vanilla extract, a pinch of salt, plus candy corn, Halloween sprinkles, or mini chocolate chips to mix in.
Instructions
- Melt the butter in a large pot over medium-low heat.
- Add the marshmallows and stir until completely melted and smooth. Stir in the vanilla and salt.
- Remove from the heat and immediately add the popcorn, stirring until every kernel is coated. Fold in any mix-ins now.
- Butter your hands generously (or wear buttered food-safe gloves) and shape the mixture into balls while it is still warm.
- Place the balls on parchment paper to set.
Halloween Candy: Bloodshot Eyeball Truffles
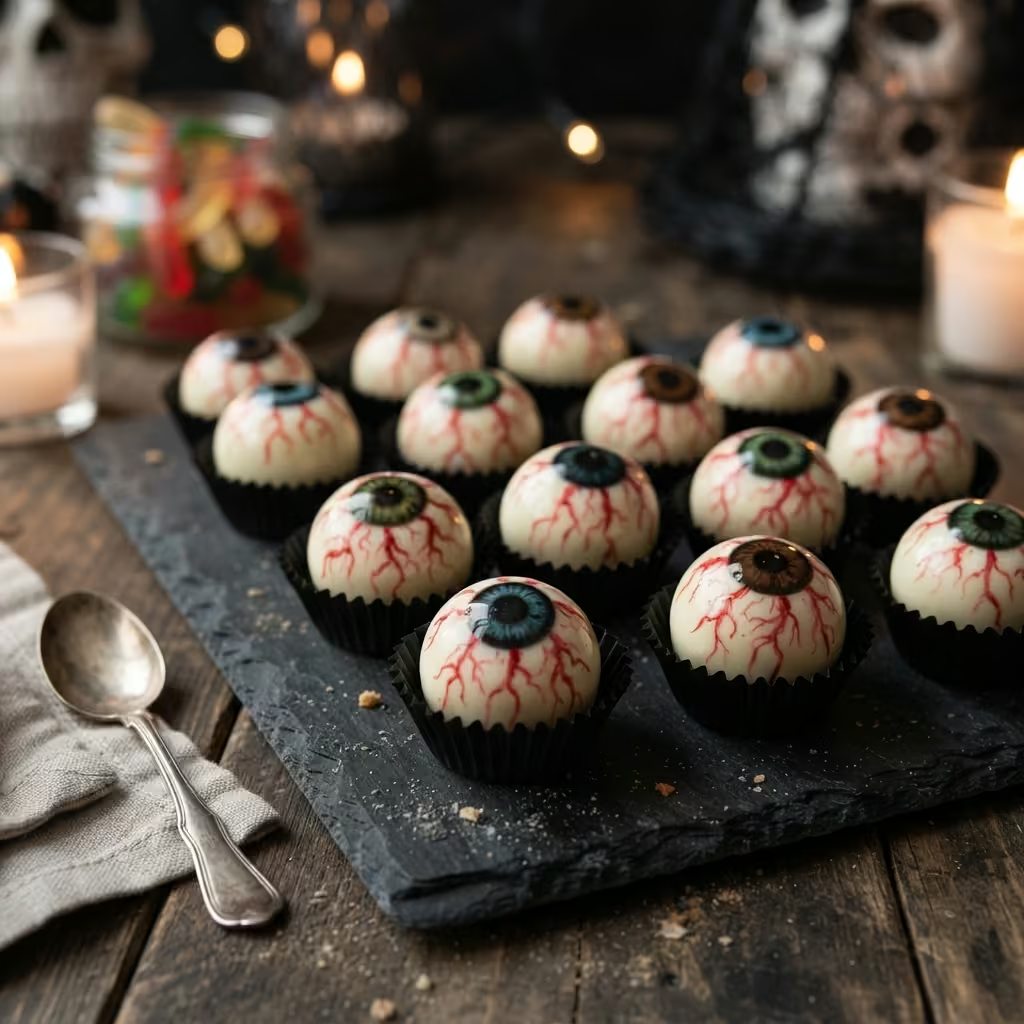
Creepy, no-bake peanut butter truffles that are almost too realistic to eat. Almost.
Ingredients (makes about 24): 1 cup (250 g) creamy peanut butter, 2 cups (240 g) powdered sugar, ½ cup (115 g) softened unsalted butter, 1 tsp vanilla extract, 12 oz (340 g) white chocolate or white candy melts, miniature candy eyeballs, red decorating gel.
Instructions
- Beat the peanut butter, powdered sugar, butter, and vanilla until a thick, dough-like mixture forms.
- Roll into 1-inch (2.5 cm) balls and place on a parchment-lined tray.
- Chill for 30 minutes.
- Melt the white chocolate or candy melts gently, stirring until smooth.
- Dip each chilled ball, coat completely, and set back on the tray.
- Press a candy eyeball into the center of each one right away.
- Once the coating has set, use the red gel to draw thin, squiggly veins radiating from the pupil.
Tip: do not stir water-based gel coloring into the melted chocolate, since it can make the chocolate seize. If you want a pink tint, use oil-based candy coloring or red candy melts blended with the white. Drawing the veins on afterward is the safest route.
Chocolate Lover’s Dreams
Chocolate work is easier than it seems, especially with a simple molding or layering technique.
Halloween Candy: Chocolate Peanut Butter Pumpkins
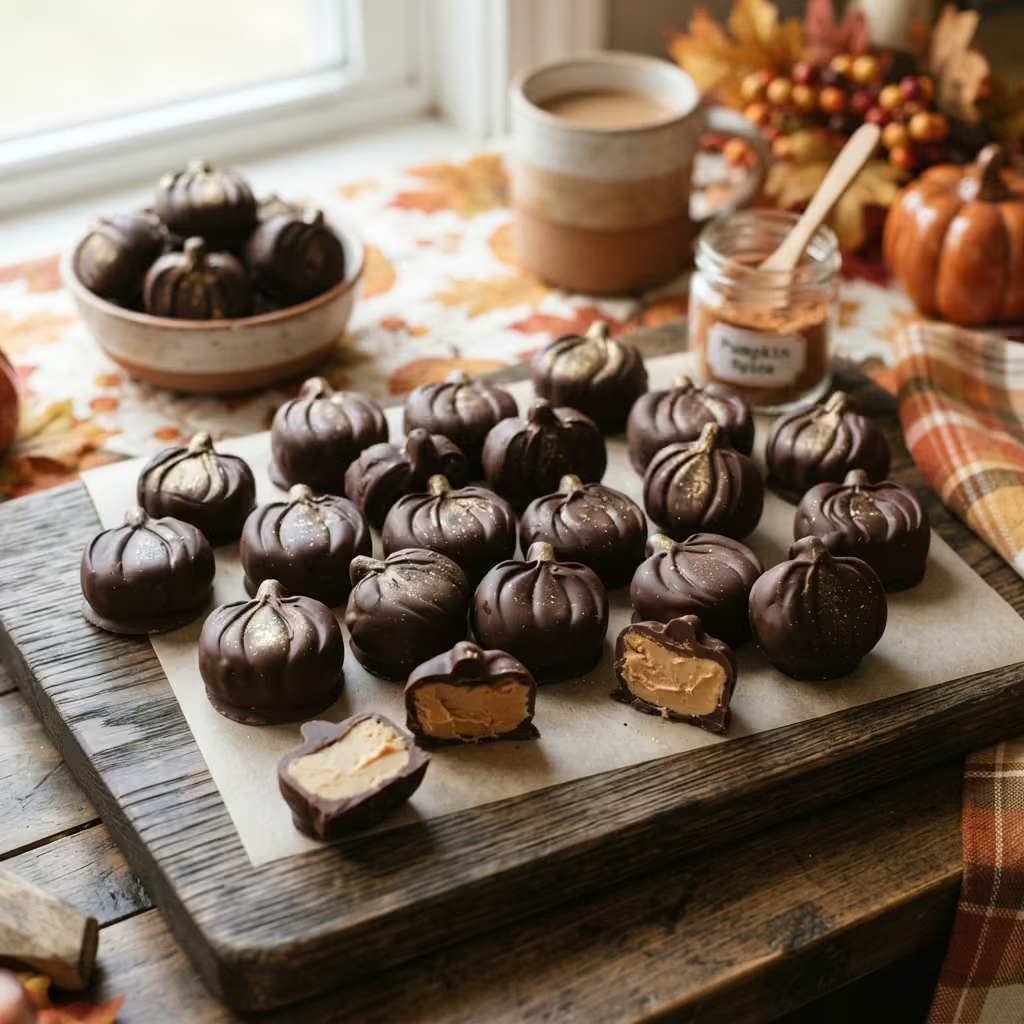
Dark chocolate jack-o’-lantern shells with smooth, lightly salted peanut butter centers.
Ingredients (makes 6): 300 g (10½ oz) dark or milk chocolate (finely chopped), 100 g (⅓ cup) creamy peanut butter, 50 g (about ½ cup) powdered sugar, 1 pinch smoked salt or fine sea salt.
Instructions
- Melt 150 g of the chocolate gently in a dry heatproof bowl over simmering water.
- Spoon the melted chocolate into six pumpkin mold cavities, spreading it into every detail and up the sides.
- Freeze for 15 minutes.
- Mix the peanut butter, powdered sugar, and salt until smooth and thick.
- Spoon the filling into the chilled shells, leaving a small border at the top.
- Freeze for another 15 minutes.
- Melt the remaining 150 g of chocolate and spoon it over the filling to seal each pumpkin. Tap gently to remove air bubbles and smooth the backs.
- Freeze for about 15 minutes, then unmold by peeling the silicone away from the candy rather than pulling the pumpkin upward.
Halloween Candy: Peanut Butter Cup Spiderweb Bark
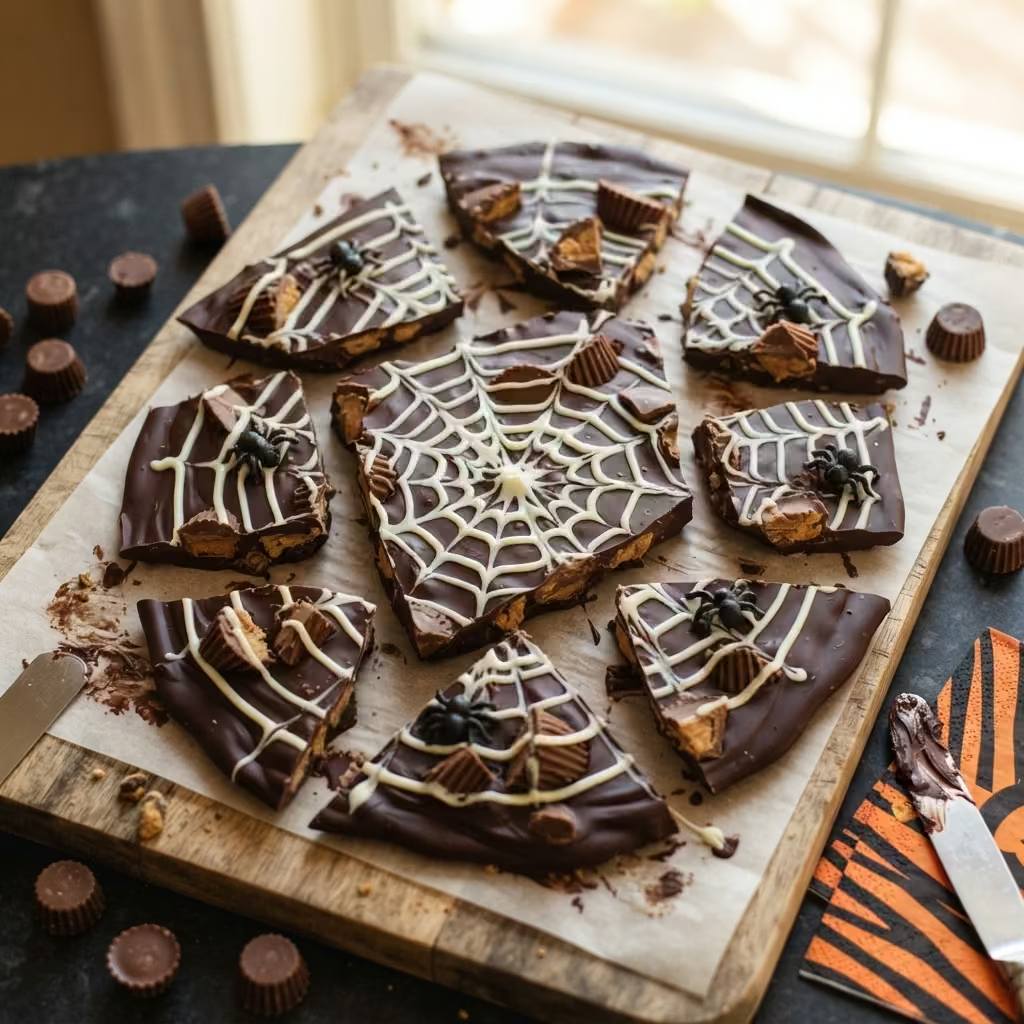
A stunning swirled chocolate bark that looks impressive but takes minutes to assemble.
Ingredients (serves about 12): 12 oz (340 g) white chocolate (chips are fine here), 4 oz (115 g) dark chocolate, ½ cup (about 70 g) chopped peanut butter cups.
Instructions
- Line a baking tray with parchment paper.
- Melt the white chocolate and spread it thinly onto the tray.
- Melt the dark chocolate and pipe thin concentric circles over the white.
- Drag a toothpick from the center outward through the circles to create a spiderweb pattern.
- Scatter the chopped peanut butter cups over the wet chocolate before it sets.
- Refrigerate for 15 minutes, then break into shards.
Cooked and Perfected Classics
These need a bit more precision but deliver that old-fashioned candy-shop feel. Use your thermometer for all of them, and keep children away from the stove: sugar syrup at these temperatures causes severe burns.
Halloween Candy: Corn-Syrup-Free Homemade Butterfingers
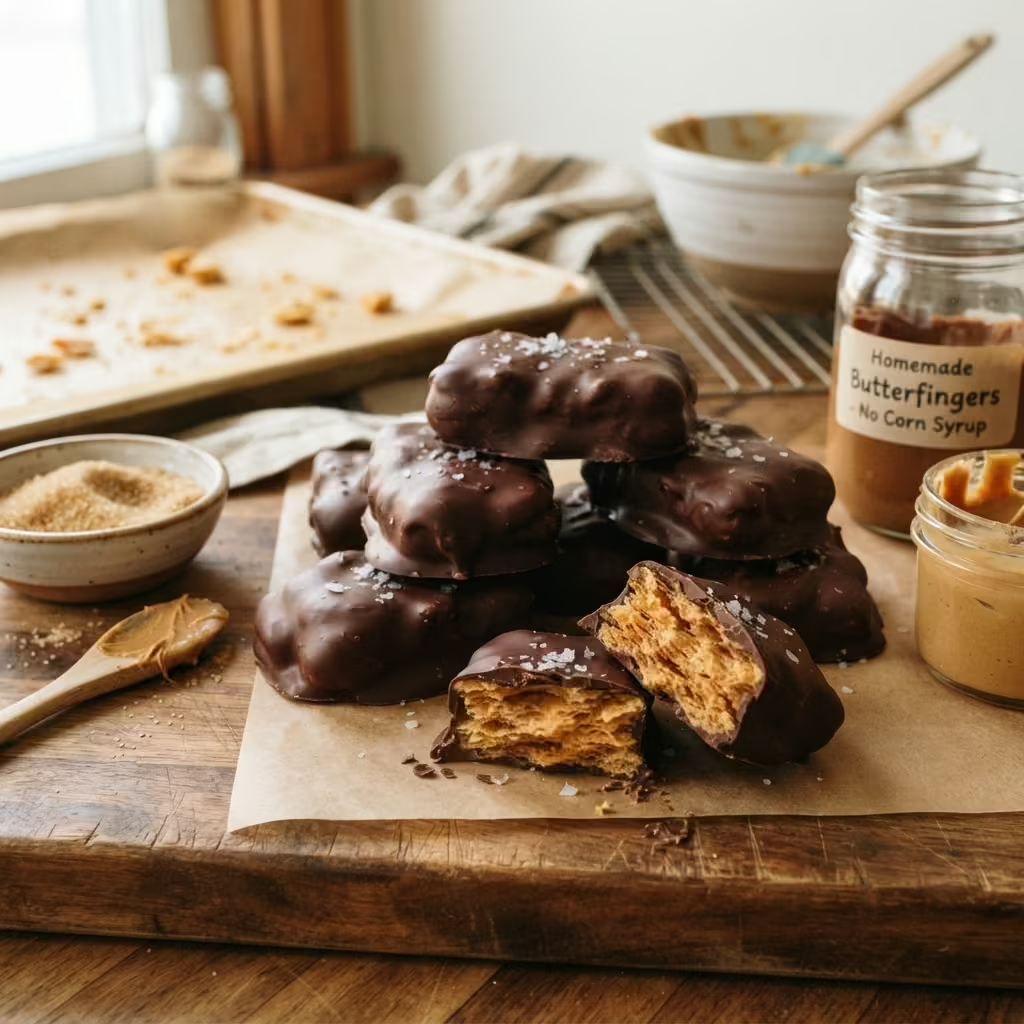
This recipe gets its crunchy, flaky texture from boiling maple syrup to the hard-crack stage. It uses no corn syrup, though maple syrup is still sugar, so enjoy it as the treat it is.
Ingredients (makes about 16 bars): ½ cup (120 ml) maple syrup, ¼ tsp cream of tartar, ½ cup (125 g) creamy peanut butter, ¼ tsp fine sea salt, 1 cup (170 g) melted dark chocolate for coating.
Instructions
- Line a 9-inch (23 cm) square baking dish with parchment paper and spray lightly with cooking spray.
- In a small, deep saucepan (maple syrup foams up as it boils), whisk the maple syrup and cream of tartar until the cream of tartar dissolves. This is the only time you stir.
- Attach a candy thermometer and bring to a rolling boil over medium-high heat.
- Boil without stirring until the mixture reaches 300°F (150°C), the hard-crack stage.
- Immediately turn off the heat and stir in the peanut butter and salt as quickly as you can without splattering.
- Pour into the prepared pan and spread quickly with a spatula, because it hardens fast.
- Freeze for 10 minutes. Once firm, break or cut into bars, dip them in melted chocolate, and set them on parchment paper.
Halloween Candy: Zombie Teeth Taffy
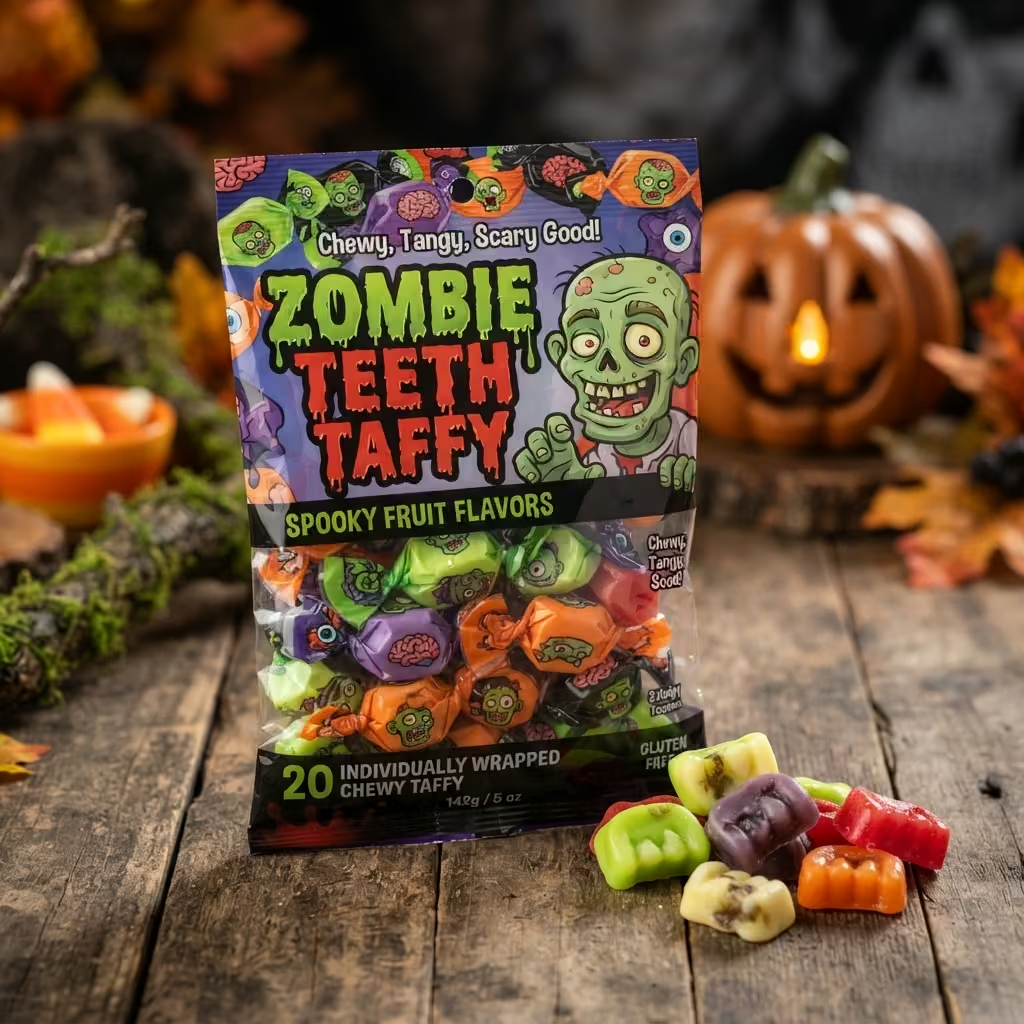
Equal parts spooky and irresistible, this taffy turns basic pantry ingredients into delightfully gross, chewy “teeth.”
Ingredients (makes about 30 pieces): 1 cup (200 g) granulated sugar, ½ cup (120 ml) light corn syrup, ¼ cup (60 ml) water, ¼ tsp salt, 1 tsp flavored extract (strawberry for “bloody” teeth, lime for “rotting” teeth), green or red food coloring, 1 tbsp butter plus extra for greasing, confectioners’ sugar for dusting.
Instructions
- Grease a large baking sheet with butter and set it aside.
- In a heavy-bottomed saucepan, combine the sugar, corn syrup, water, and salt. Stir over medium heat until the sugar dissolves, then stop stirring.
- Insert a candy thermometer and boil until the mixture reaches 255°F (124°C), the firm-ball stage. Going much higher makes taffy too hard to pull.
- Immediately pour onto the prepared baking sheet. Add the butter, extract, and food coloring on top.
- Let it cool for 5 to 10 minutes, until just cool enough to handle.
- Fold the edges into the center with a spatula. Once it is comfortable to touch, butter your hands (or wear food-safe gloves) and pull the taffy: stretch, fold, and twist for 10 to 15 minutes, until it turns opaque and firm.
- Roll into thin ropes, cut into 1-inch (2.5 cm) pieces, and dust generously with confectioners’ sugar so they do not stick. Wrap each piece in wax paper.
Halloween Candy: Poison Toffee Apples

Tart Granny Smith apples coated in a shiny, jet-black hard toffee shell: a visually striking, crunchy treat.
Ingredients (makes 6): 2 cups (400 g) granulated sugar, ¾ cup (180 ml) water, ½ cup (120 ml) liquid glucose or light corn syrup, black gel food coloring (use plenty, since the color fades with heat), 6 medium Granny Smith apples, 6 bamboo skewers or sticks.
Instructions
- Wash the apples in hot water to remove the waxy coating, dry them completely, and remove the stems. The toffee will not stick to wet or waxy skin.
- Grease a sheet of baking paper and place it on a tray. Push a skewer firmly into the top of each apple.
- Combine the sugar, water, corn syrup, and black coloring in a saucepan over medium heat. Stir until the sugar dissolves, then stop stirring. Wash down the sides of the pan with a wet pastry brush to prevent crystals.
- Cook until the mixture reaches 300 to 310°F (150 to 154°C), the hard-crack stage. To test without a thermometer, drop a little syrup into ice water; it should form hard, brittle threads.
- Carefully dip each apple, tilting the pan and swirling to coat evenly. Let excess drip off.
- Place on the prepared tray and let them cool and harden completely.
Storage note: eat these within a day. Moisture from the apple slowly softens the shell, and refrigerating makes it sweat.
Halloween Candy: Caramel Apple Taffy
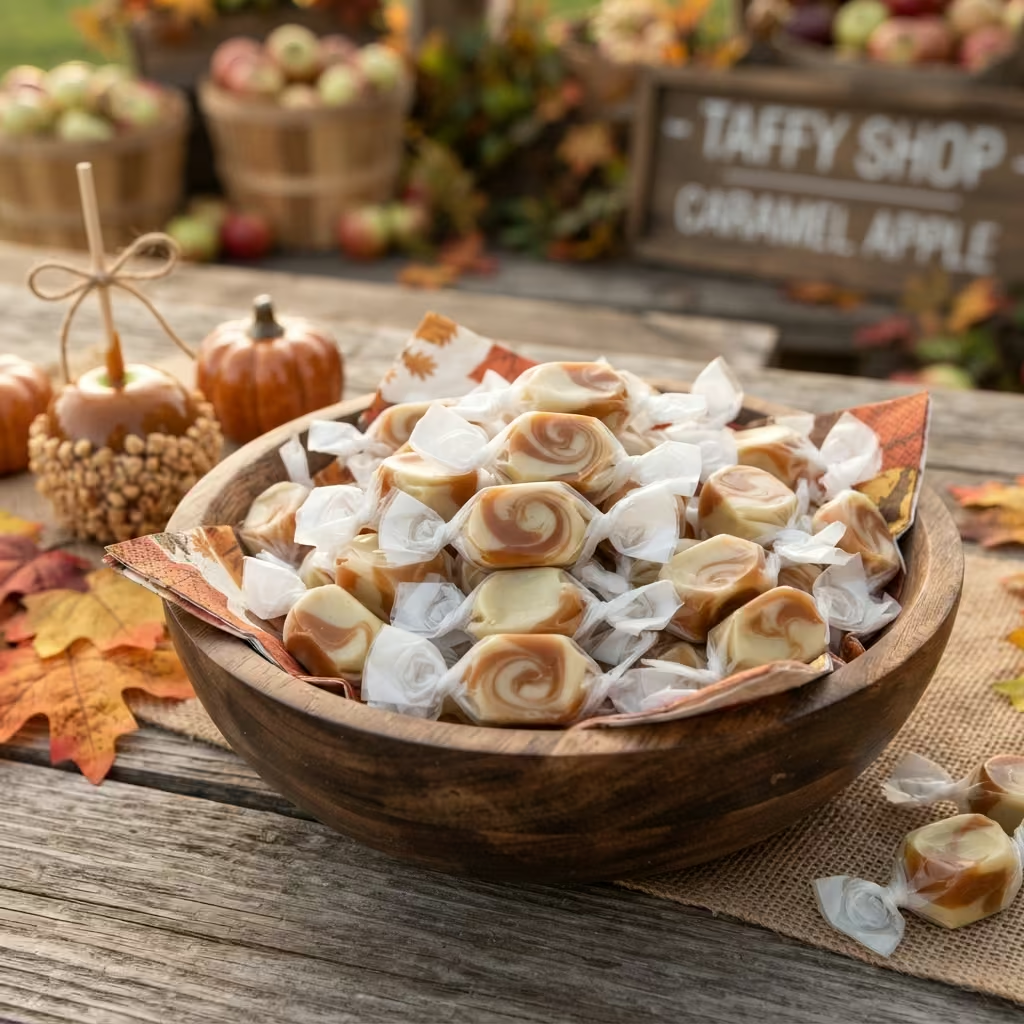
A fun, old-fashioned project that combines hand-pulled taffy with the flavors of fall.
Ingredients (makes about 40 pieces): 2 cups (400 g) granulated sugar, 1 cup (240 ml) light corn syrup, ½ cup (100 g) packed light brown sugar, ½ cup (120 ml) water, ½ tsp salt, 2 tbsp unsalted butter, 1½ tsp green apple extract, ½ tsp green gel food coloring, vegetable shortening for greasing.
Instructions
- Lightly grease a large baking sheet and your hands (or food-safe gloves).
- In a heavy-bottomed saucepan, combine both sugars, the corn syrup, water, and salt. Stir over medium heat until dissolved, then stop stirring.
- Boil until the mixture reaches 255°F (124°C), the firm-ball stage.
- Immediately pour onto the prepared sheet. Add the butter, apple extract, and food coloring on top.
- Let it cool for 5 to 10 minutes, folding the edges into the center with a spatula until it is cool enough to handle.
- Pull the taffy, stretching, folding, and twisting for 10 to 15 minutes, until it turns opaque, pale green, glossy, and firm.
- Roll into ½-inch (1.3 cm) ropes, cut into 1-inch (2.5 cm) pieces, and wrap each piece in wax paper.
Fruity, Chewy, and Glassy Candies
These bring a bright contrast to the rich chocolate and caramel treats.
Halloween Candy: Witch’s Brew Hard Candy Swirls
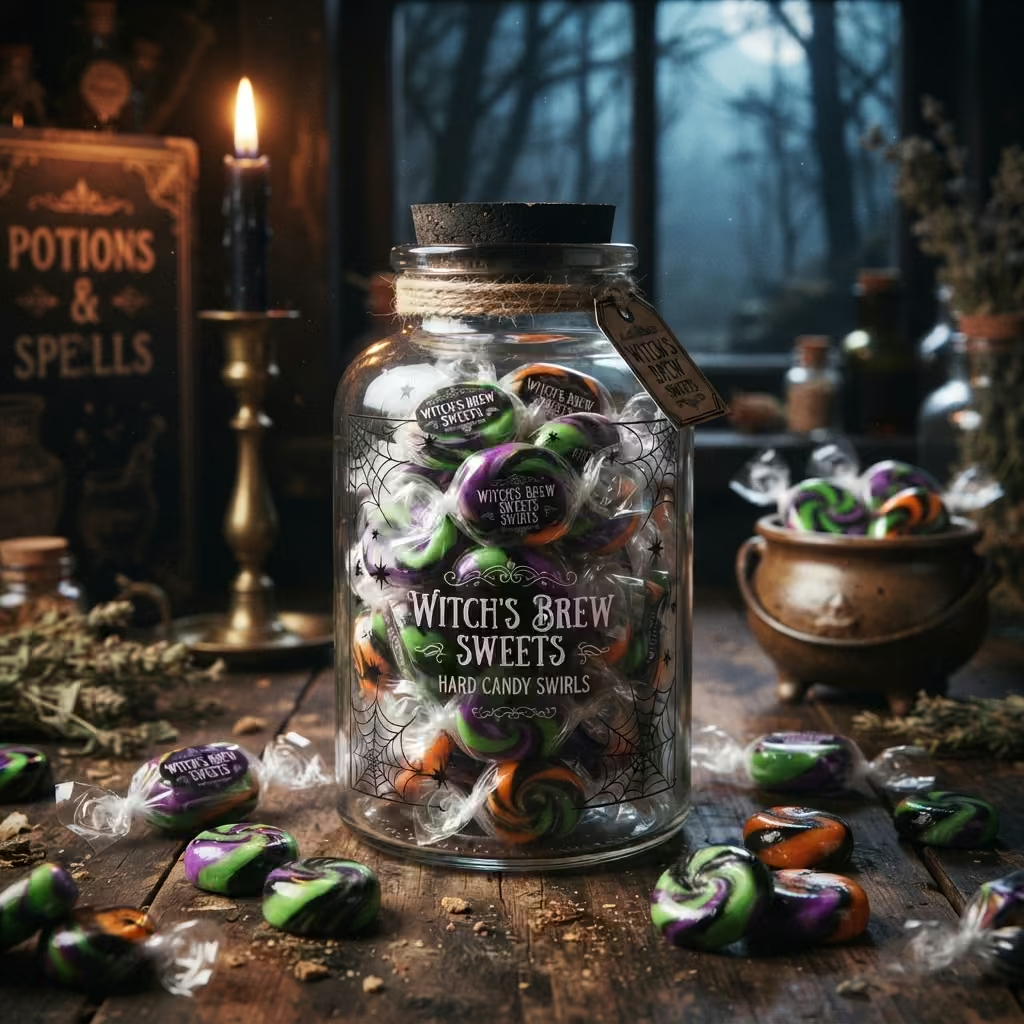
Jewel-like, glassy candies that look like edible stained glass and shatter with a satisfying crackle.
Ingredients (makes about 30 shards): 2 cups (400 g) granulated sugar, ⅔ cup (160 ml) light corn syrup, ½ cup (120 ml) water, ¼ tsp cream of tartar, gel food coloring (purple, green, or neon orange), 1 tsp flavored extract (optional).
Instructions
- Line a large baking sheet with parchment paper and grease it lightly.
- In a heavy-bottomed saucepan, combine the sugar, corn syrup, water, and cream of tartar. Stir over medium heat until the sugar dissolves, then stop stirring.
- Insert a candy thermometer and boil until the mixture reaches 300°F (150°C), the hard-crack stage.
- Remove from the heat. If using extract, stir it in carefully, since it will steam and spatter.
- Pour the molten candy onto the prepared sheet.
- Working quickly, add drops of gel coloring and drag a toothpick through the candy to make spooky swirls.
- Let it cool completely until hard, then break into jagged shards.
Tip: hard candy absorbs moisture from the air and turns sticky. Wrap pieces individually and store airtight.
Halloween Candy: Homemade Candy Corn Chews
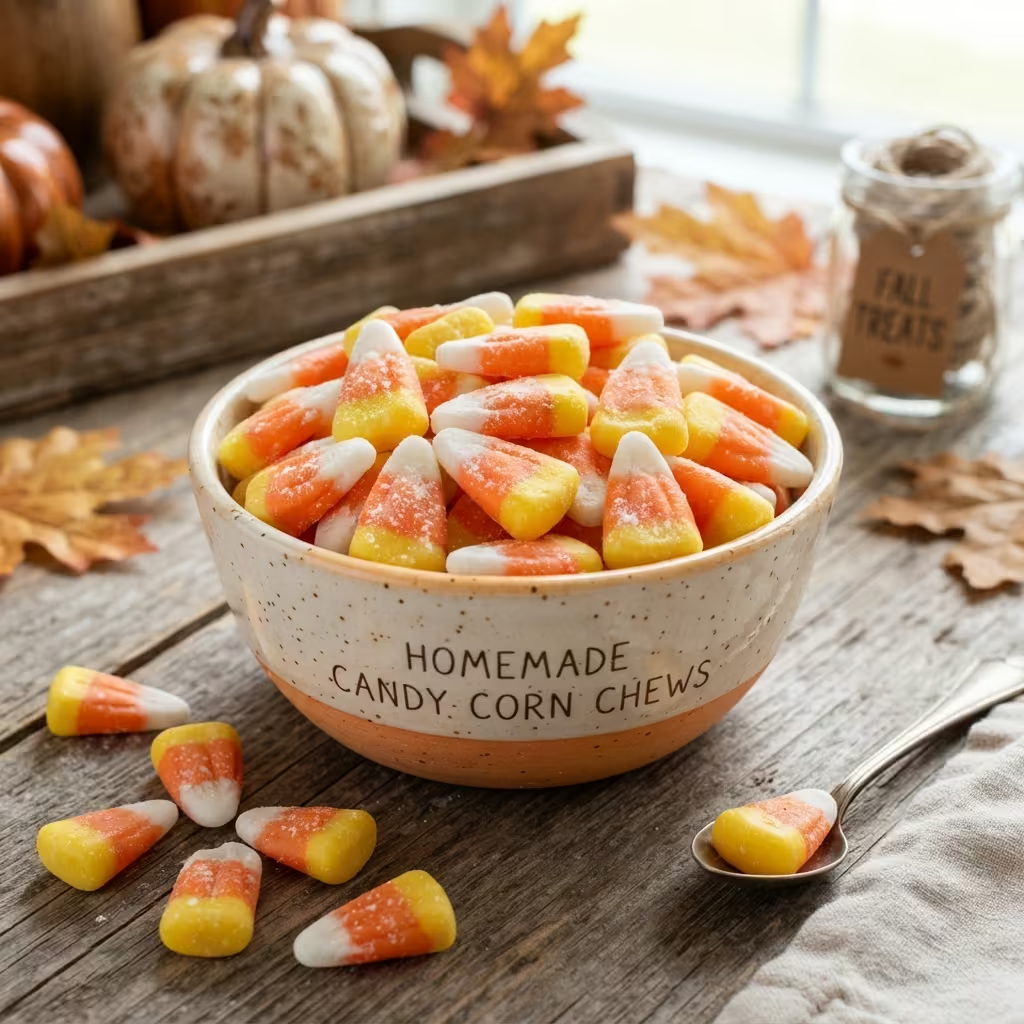
Soft, sweet, and beautifully colored candies in the classic tri-color triangle. This is a fondant-style candy rather than a gummy, so it needs no gelatin.
Ingredients (makes about 40 pieces): 240 g (2 cups) powdered sugar, 60 g (about ½ cup) non-fat milk powder, a pinch of salt, 60 ml (¼ cup) light corn syrup, 120 g (about ⅔ cup) granulated sugar, 20 g (1½ tbsp) butter, 2 tsp lime juice, ¼ tbsp vanilla extract, yellow and orange food coloring.
Instructions
- Sift together the powdered sugar, milk powder, and salt in a large bowl.
- In a saucepan, combine the corn syrup, granulated sugar, butter, and lime juice. Cook over medium heat, stirring constantly, until the mixture reaches about 230°F (110°C).
- Remove from the heat and stir in the vanilla.
- Gradually pour the hot sugar mixture into the dry ingredients, stirring until a dough forms. Let it cool until just warm.
- Knead the dough on parchment paper until soft and smooth.
- Divide into three portions. Knead yellow coloring into one, orange coloring into another, and leave the third white.
- Roll each portion into a thin strand about 0.5 cm thick, press the three strands together side by side, and cut into small triangles.
- Let them set for a few hours before serving.
Halloween Candy : Allergen-Friendly and Lighter Options
Homemade candy is easy to adapt, but always label what is in it.
- Chocolate-free and gluten-free: the carob candy (#2) is naturally sweetened and free of both chocolate and gluten, so it works well for kids with dietary restrictions.
- Nut-free swaps: replace peanut butter with sunflower seed butter in the crackle spiders (#1), eyeball truffles (#5), and chocolate pumpkins (#6). Check that your chocolate and sprinkles are made in a nut-free facility if allergies are serious.
- Vegetarian: skip the fruit gummies (#3), which contain gelatin, or choose the chocolate, bark, taffy, and candy corn chews instead.
- Less refined sugar: the maple butterfingers (#8) and carob candy (#2) use maple syrup or honey instead of corn syrup or white sugar, but they are still sweets.
Learn more :
Giving Homemade Halloween Candy to Trick-or-Treaters
Many parents only accept sealed, store-wrapped treats from strangers, so consider your audience. Homemade candy is best for family, friends, neighbors you know, class parties, and potlucks. If you do hand it out at the door, wrap each piece individually in a clear bag or wax paper, and add a small tag listing the main ingredients and any allergens such as peanuts, milk, or gelatin. Skip anything that is hard to eat or messy in a bag, like toffee apples and hand-pulled taffy, and choose bark, wrapped truffles, and individually bagged pretzels or chews instead.
Pro Tips for Perfect Homemade Halloween Candy Every Time
- Read the recipe twice. Candy making is a chemical reaction. Measure everything and set it within reach before you start.
- Respect the thermometer. For cooked candies, the final temperature is the most important variable. Do not guess, and test your thermometer in boiling water first.
- Do not stir unless told to. Stirring sugar syrup after it boils can trigger crystallization and a grainy texture. Gently swirl the pan instead.
- Watch out for seizing. A single drop of water, or water-based gel coloring, can turn melted chocolate into a thick, grainy paste. Keep all bowls and tools bone-dry, and use oil-based coloring for chocolate.
- Melt chocolate gently. Use short microwave bursts or a double boiler, and stir often. Overheated chocolate turns dull and grainy.
- Butter your hands. A little butter or shortening keeps popcorn balls and taffy from sticking to you.
- Be careful with hot sugar. Candy syrup runs far hotter than boiling water. Keep kids at a safe distance, wear long sleeves, and never touch the syrup.
How to Store Your Homemade Halloween Candy
- Chocolate and bark: store in an airtight container in a cool, dry place, ideally around 65°F (18°C). Short stints in the fridge or freezer to set are fine, but avoid long-term refrigeration, which can cause bloom (a white film). If you do chill it, let it come to room temperature in a sealed container before opening to avoid condensation.
- Truffles and anything with butter or cream: keep refrigerated and serve within about a week.
- Taffy: wrap each piece in wax paper and store airtight at room temperature for up to 2 weeks, though it is best in the first week.
- Hard candy and brittle: store airtight at room temperature, wrapped individually if possible. They keep for several weeks if kept away from humidity.
- Candy corn chews: keep airtight at room temperature for about a week.
- Gelatin gummies and carob candy: keep sealed in the refrigerator. Gummies are best within about a week.
- Toffee apples: eat within a day.
Learn more :
- 5 Best Halloween Recipes for a Spooky Party
- Halloween Cake Pops: 17 Spooky & Fun Treats
- Best Spooktacular Halloween Cake Pops 1
- Monster Mash Recipe (Easy Halloween Treat)
- Witch Finger Cookies: A Spooky Treat Without Food Coloring
Halloween Candy : Frequently Asked Questions
Why did my chocolate turn out dull and grainy? Usually the chocolate was overheated, or you used chips where a smooth shell was needed. Use quality bars or wafers, melt gently in short bursts, and stir until smooth. White streaks after storage are bloom, caused by temperature swings.
My taffy or toffee turned out too hard or too soft. Can I fix it? It almost always comes down to temperature. Too hard means it was cooked too high; too soft means it was cooked too low or the thermometer is off. Check your thermometer in boiling water and follow the target for each recipe. Once candy has set, it is difficult to re-cook, so it is better to start another batch.
Why did my melted chocolate turn thick and clumpy? It seized from contact with water or water-based coloring. Keep everything dry and use oil-based coloring.
How far in advance can I make homemade Halloween candy? Bark, hard candy, and brittle can be made one to two weeks ahead. Truffles keep about a week in the fridge. Taffy is best within a week, gummies within about a week, and toffee apples should be eaten the same day.
Is homemade candy safe for kids to help with? Yes, with supervision. No-bake recipes like the crackle spiders, popcorn balls, bloodshot eyeballs, and spiderweb bark are perfect for kids. For cooked candy, an adult should handle the hot syrup, and children can help with decorating, rolling, and wrapping once everything has cooled.
The Bottom Line
Making candy at home is a rewarding project that connects you to the season in a delicious, tangible way. Choose a recipe that suits your skill level, use quality ingredients, and follow a few key techniques, and you can create treats that beat anything off the shelf. Pick a recipe (or three), embrace the beautiful mess, and enjoy the sweet rewards.