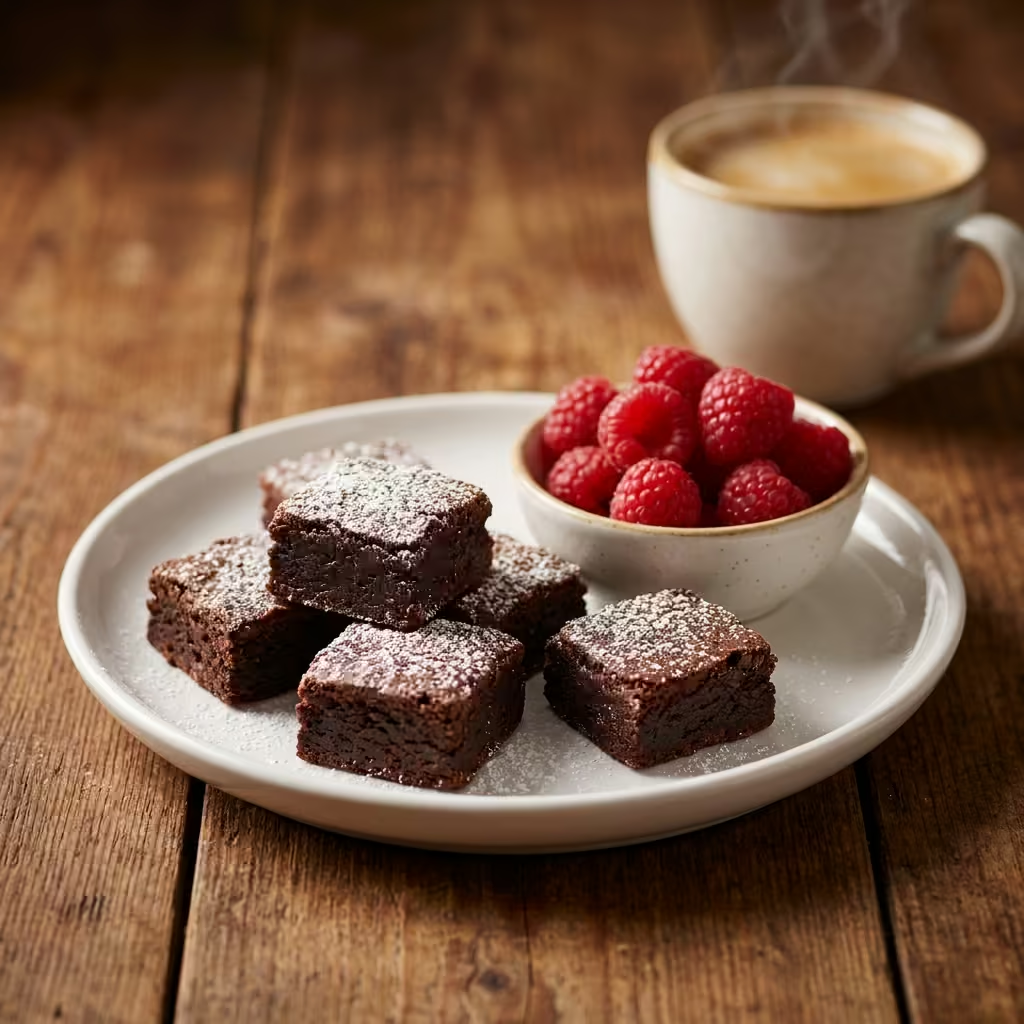
Learn how to make mini brownie bites in a muffin tin with simple ingredients, clear steps, baking times, troubleshooting tips and storage advice.
Mini brownie bites are small, single-serving brownies baked in a mini muffin tin. They have the chewy edges and fudgy centers of a classic brownie, but they bake faster, portion themselves, and are easy to serve at parties, lunchboxes or dessert tables. This guide explains exactly how to make them, why each step matters, and how to fix the most common problems.
What Are Mini Brownie Bites?
Mini brownie bites are regular brownie batter baked in a 24-cup mini muffin pan instead of a square baking dish. Each bite is about two to three mouthfuls. Because the pieces are small, more of the brownie is edge and crust, which many people prefer. They also bake in roughly 12 minutes, compared with 25 to 30 minutes for a full pan.
Quick facts
- Yield: 24 mini brownie bites
- Prep time: 15 minutes
- Bake time: 11 to 13 minutes
- Cooling time: 15 minutes
- Difficulty: easy
Mini brownie bites : Ingredients
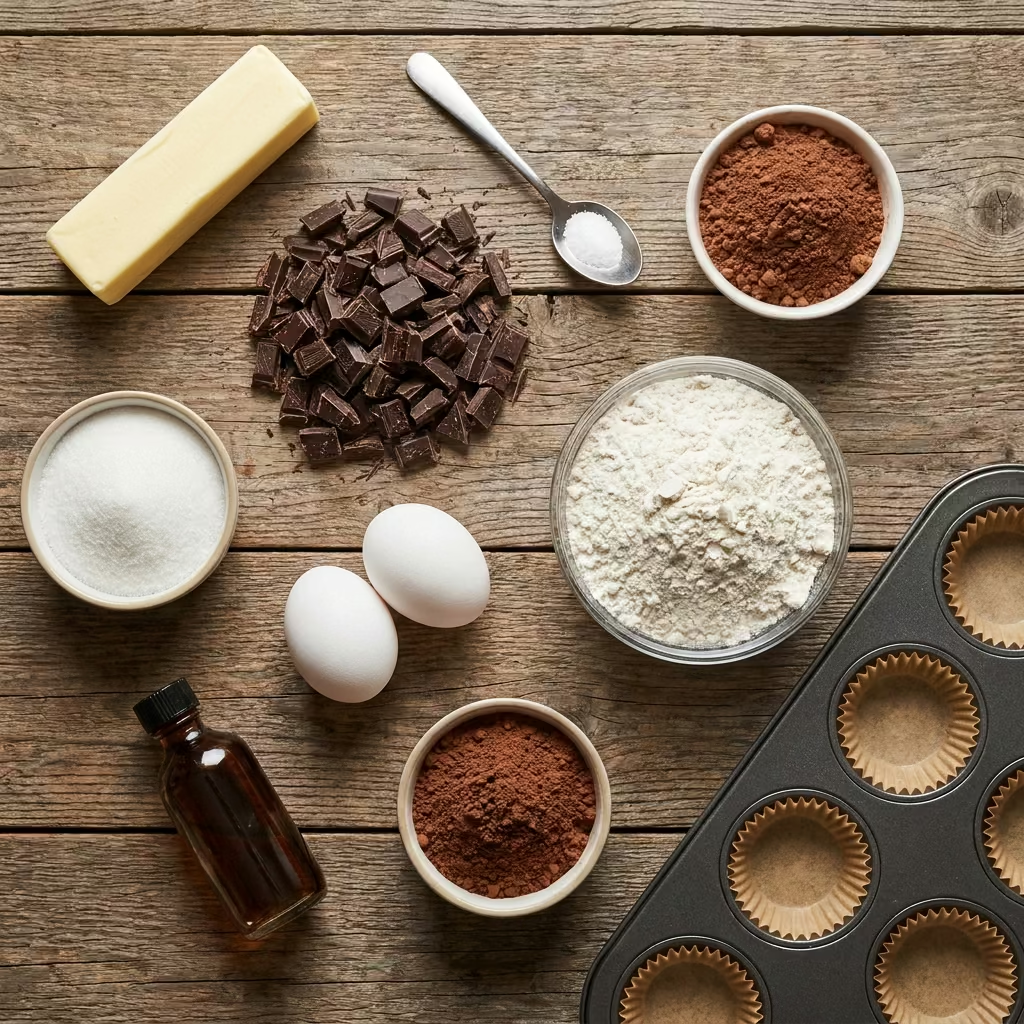
Use a kitchen scale if you have one. Weighing ingredients gives more consistent brownies than measuring cups.
- 113 g (1/2 cup, 1 stick) unsalted butter
- 115 g (4 oz) semisweet or dark chocolate, chopped
- 150 g (3/4 cup) granulated sugar
- 2 large eggs, at room temperature
- 1 teaspoon vanilla extract
- 65 g (1/2 cup) all-purpose flour
- 2 tablespoons (10 g) unsweetened cocoa powder
- 1/4 teaspoon fine salt
- Optional: 1/3 cup chocolate chips, chopped nuts or flaky salt for topping
Equipment
- 24-cup mini muffin pan
- Mini paper liners or nonstick spray
- Medium saucepan or microwave-safe bowl
- Whisk and spatula
- Small cookie scoop or two teaspoons
- Wire cooling rack
Mini Brownie Bites :Step-by-Step Instructions
Step 1: Prepare the pan and oven
Preheat the oven to 350°F (175°C) and position a rack in the center. Line the mini muffin pan with paper liners, or grease each cup well with butter or nonstick spray. Greasing matters because brownie batter is sticky and can tear when removed.
Step 2: Melt the butter and chocolate
Place the butter and chopped chocolate in a heatproof bowl. Melt them over a pan of barely simmering water, stirring often, or microwave in 20-second bursts, stirring between each. Stop when the mixture is smooth. Let it cool for about five minutes so it does not scramble the eggs in the next step.
Step 3: Whisk in sugar, eggs and vanilla
Add the sugar to the cooled chocolate mixture and whisk until combined. Add the eggs one at a time, whisking well after each. Stir in the vanilla. Whisk for about a minute until the batter looks glossy. This helps form the thin, shiny crust on top.
Step 4: Fold in the dry ingredients
Sift the flour, cocoa powder and salt over the batter. Fold gently with a spatula until no dry streaks remain. Do not overmix. Too much stirring develops gluten, which makes brownies cakey and tough rather than fudgy.
Step 5: Fill the cups
Use a small cookie scoop or a teaspoon to fill each cup about three-quarters full, roughly 1 tablespoon of batter each. Brownies rise slightly, so avoid filling to the top. If you like, press a few chocolate chips or nuts onto each one.
Step 6: Bake
Bake for 11 to 13 minutes. A toothpick inserted in the center should come out with a few moist crumbs, not wet batter. If it comes out completely clean, the bites may be slightly overbaked, though still good.
Step 7: Cool and remove
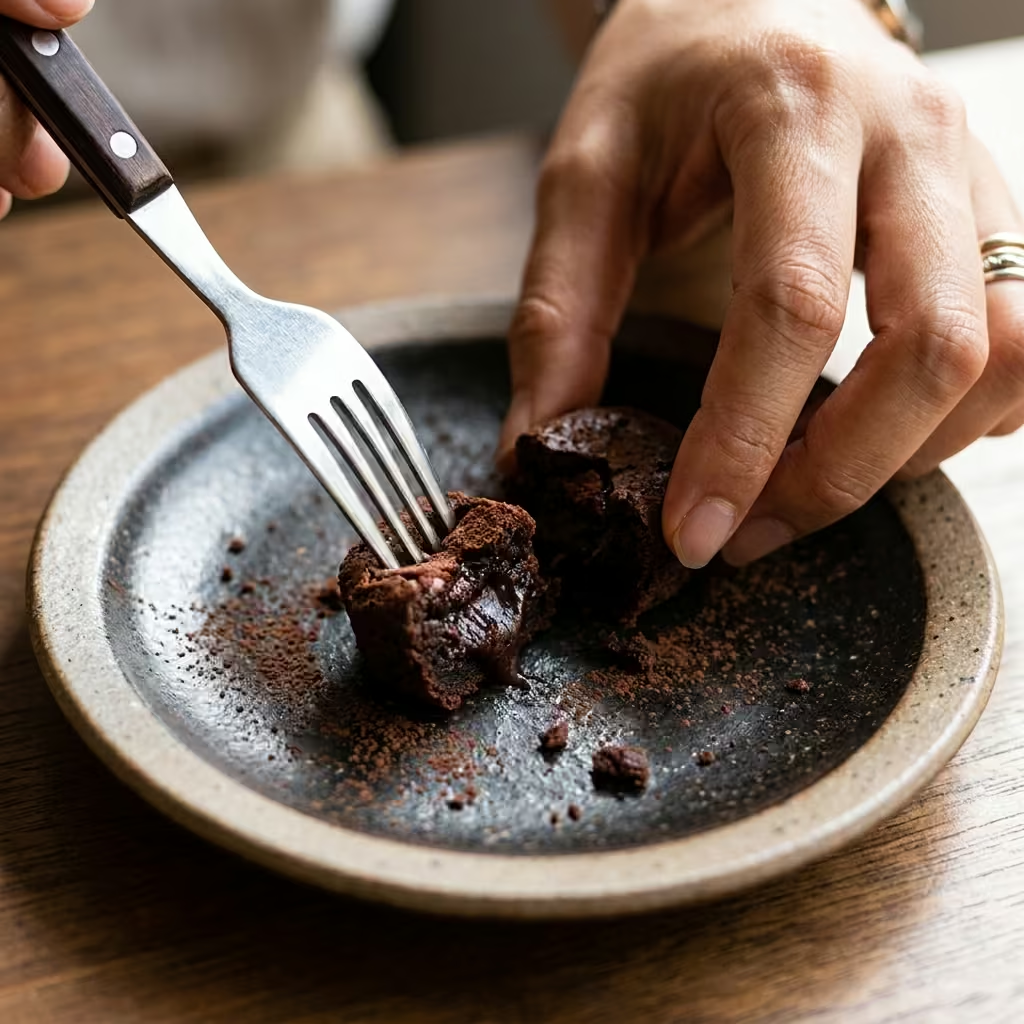
Let the brownie bites cool in the pan for 10 to 15 minutes. They will sink a little in the center, which is normal. Run a small knife around the edge of any stuck bite, lift them out, and finish cooling on a wire rack.
Fudgy vs. Cakey: How to Control the Texture
Texture depends mostly on the ratio of fat and chocolate to flour.
| Goal | What to do |
|---|---|
| Fudgier | Use slightly more chocolate, less flour, and bake at the shorter end of the time range |
| Cakier | Add 2 to 3 more tablespoons of flour and an extra 1/2 teaspoon of baking powder |
| Chewier | Use an extra egg yolk and avoid overmixing |
Mini Brownie Bites : Tips for the Best Results
- Use good chocolate. Chocolate is the main flavor, so choose a bar you would enjoy eating on its own, with 50 to 70 percent cocoa.
- Use room-temperature eggs. They blend more evenly into the batter. If you forgot, place eggs in warm water for five minutes.
- Do not overbake. Mini brownies go from perfect to dry quickly. Start checking at 11 minutes.
- Keep the portions even. A scoop gives bites that bake at the same rate.
- Rotate the pan. If your oven has hot spots, rotate the pan halfway through baking.
- Add salt. A pinch of flaky salt on top balances sweetness.
Flavor Variations
- Peanut butter swirl: Add a small drop of peanut butter on each bite and swirl with a toothpick before baking.
- Mint chocolate: Replace the vanilla with 1/4 teaspoon peppermint extract and top with crushed mint candy after baking.
- Espresso: Add 1 teaspoon instant espresso powder to the cocoa to deepen the chocolate flavor.
- Frosted: Once cool, pipe a small swirl of chocolate ganache or buttercream on top.
- Nut-topped: Press chopped walnuts or pecans into the batter before baking.
Mini Brownie Bites : Troubleshooting Common Problems
The brownie bites are dry. They were likely baked too long or contain too much flour. Measure flour by weight, or spoon it into the cup and level it instead of scooping straight from the bag.
They stick to the pan. The pan was not greased enough. Use paper liners, or grease thoroughly and let the brownies cool for 10 minutes before removing them.
There is no shiny crust. The sugar and eggs were not whisked enough. Whisk the batter for a full minute after adding the eggs.
They are oily on top. The chocolate mixture may have been too hot when the eggs were added, or the butter separated. Let the mixture cool slightly before continuing.
They sank a lot. Some sinking is normal. A very deep dip usually means too much sugar, too much whisking after adding flour, or an oven that was too hot.
How to Store Mini Brownie Bites
- Room temperature: Keep in an airtight container for up to 3 days.
- Refrigerator: Store for up to 7 days. Let them sit at room temperature for 15 minutes before serving for better texture.
- Freezer: Freeze in a single layer until firm, then transfer to a freezer bag for up to 3 months. Thaw at room temperature.
Serving Ideas
Serve mini brownie bites on a dessert platter with fresh berries, a scoop of vanilla ice cream in a small cup, or alongside coffee. For gifts, stack them in a lined box. For parties, a mixed tray with different toppings gives guests variety without extra work.
Frequently Asked Questions
Can I make mini brownie bites without a mini muffin pan?
Yes. Bake the batter in an 8-inch square pan for 22 to 28 minutes and cut it into small squares. The texture will be slightly softer because there is less edge.
How do I know when mini brownie bites are done?
The tops should look set and slightly dry, and a toothpick should come out with a few moist crumbs. The center will firm up as it cools.
Can I use a boxed brownie mix?
Yes. Prepare the mix as directed and bake in a mini muffin pan for about 12 to 14 minutes. Check the package for any changes in baking time.
Can I make them ahead of time?
Yes. They keep well for several days, and the flavor often improves after a few hours as they settle.
Are they gluten-free?
Not as written. You can replace the flour with a 1-to-1 gluten-free baking blend, and the result is usually close to the original.
Final Thoughts
Mini brownie bites are an easy way to get a classic dessert in a convenient size. With a simple batter, careful baking and a short cooling time, you can make a full tray in under an hour. Follow the texture tips, avoid overbaking, and adjust the toppings to suit the occasion.