There are few desserts as iconic and comforting as a homemade apple pie. The phrase “American as apple pie” is woven into the nation’s cultural fabric, and for good reason—a golden, bubbling pie fresh from the oven is the centerpiece of holidays, family gatherings, and cozy weekends at home.
Yet, for many home bakers, the idea of how to make apple pie from scratch can feel intimidating. The pressure to achieve a shatteringly crisp crust, a perfectly set filling, and a balance of sweet and tart flavors is real.
This definitive guide is designed to demystify the process. Whether you are a novice baker attempting your first pie or a seasoned cook looking to refine your technique, this article will walk you through every critical step.
We will explore the science behind the perfect crust, the great debate over cooked versus raw filling, the art of selecting the right apples, and the solutions to the most common pie-making pitfalls. By the end, you will have the knowledge and confidence to master how to make apple pie that rivals any bakery creation.
How to Make Apple Pie : Choosing the Right Apples
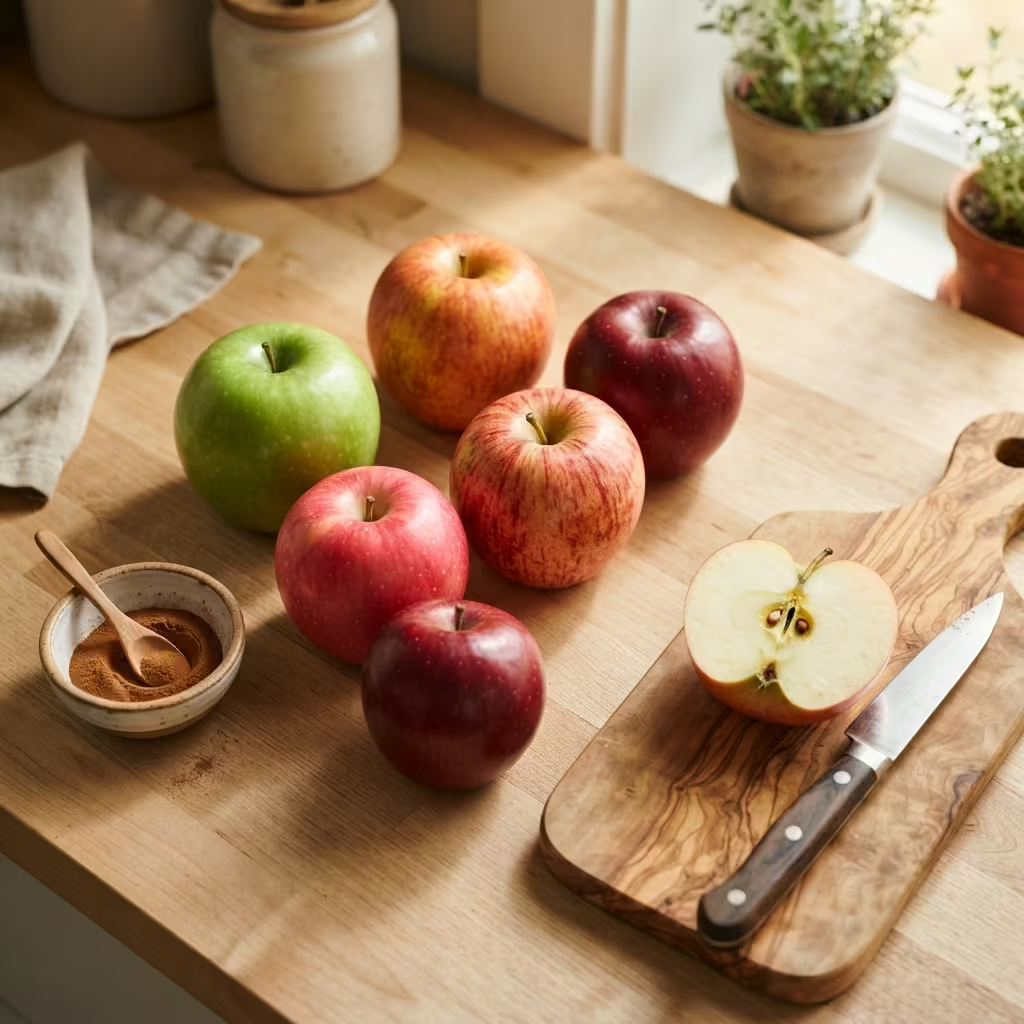
The single most important decision you will make when learning how to make apple pie happens before you even turn on the oven. The apples you choose dictate the final texture and flavor of your pie. Using the wrong variety can result in a mushy, watery, or overly sweet filling that disappoints.
How to Make Apple Pie : The Ideal Profile
The best apples for baking possess a balance of sweetness and tartness, along with a firm texture that can withstand the heat of the oven without disintegrating into applesauce. Pastry chefs consistently recommend firm varieties that hold their shape. According to Chef Megan Brophy, Executive Pastry Chef at Pastis Miami, you should look for apples “with balanced flavor profiles, both tart and sweet, and those that will maintain their shape during cooking”.
How to Make Apple Pie : Top Recommended apple Varieties
- Granny Smith: The quintessential pie apple. Its bright, bracing tartness cuts through the richness of the butter crust and sugar, and its firm flesh holds up beautifully during baking.
- Honeycrisp: Offers a delightful sweetness with a hint of tartness and an exceptionally crisp texture that translates well to the baked pie.
- Braeburn: A favorite among experts for its complex, spicy-sweet flavor and firm bite that softens just enough when baked.
- Cosmic Crisp: A relative newcomer that has quickly gained a reputation among professional bakers as an outstanding pie apple, praised for its ideal balance of sweet-tart flavor and firm texture.
- Pink Lady (Cripps Pink): Known for its slow-to-oxidize flesh and vibrant sweet-tart flavor, it maintains its texture and flavor exceptionally well through baking.
How to Make Apple Pie : Apples to Avoid
Just as important as knowing which apples to use is knowing which to leave at the store. Avoid overly soft or excessively sweet varieties. McIntosh, Cortland, and Red Delicious are frequently cited as poor choices because they break down too easily, turning your pie filling into a soupy, mealy mess.
Pro Tip: For the most complex flavor profile, consider using a blend of two or three different apple varieties. A combination of a tart apple like Granny Smith with a sweeter, firmer apple like Honeycrisp can create a filling that is both nuanced and texturally perfect.
How to Make Apple Pie : Pre-Cooked vs. Raw Apple Filling
When researching how to make apple pie, you will encounter two primary schools of thought regarding the filling: the traditional raw method and the professional pre-cooked method. Understanding the difference is key to troubleshooting common issues like a soggy crust or a gap between the filling and the top crust.
How to Make Apple Pie : The Case for Pre-Cooking (The Professional Method)
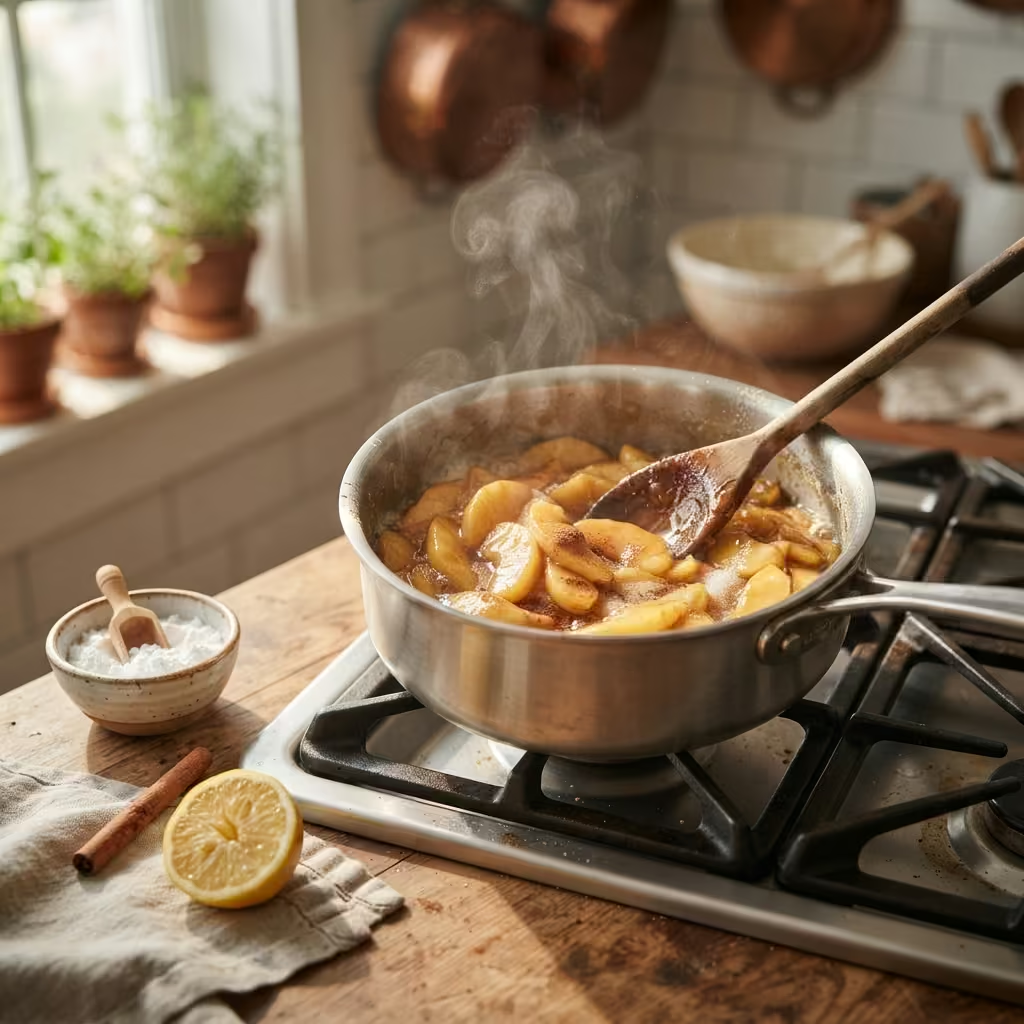
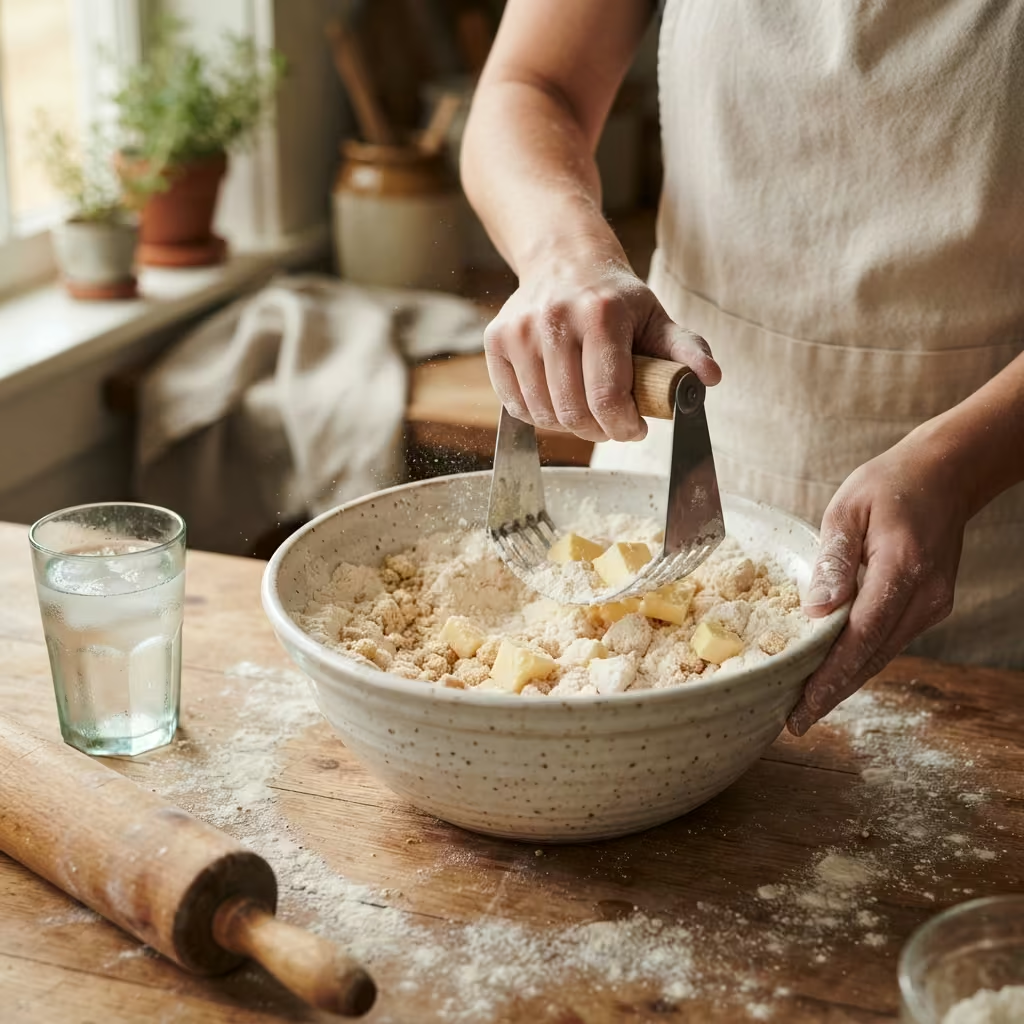
Many baking experts and professional bakers advocate for pre-cooking the apple filling on the stovetop before it ever touches the pie dough. This technique is widely considered the single biggest secret to achieving a consistent, foolproof result.
How to Make Apple Pie : Why Pre-Cooking Works
- Prevents a Soggy Bottom: Apples contain a significant amount of water. When raw apples are baked inside a pie, they release this moisture, which can soak into the bottom crust, leaving it pale and undercooked. Pre-cooking allows you to release and control this excess moisture on the stovetop, ensuring a crisp, fully baked bottom crust.
- Eliminates the “Crust Gap”: As apples cook, they shrink dramatically. If you fill a pie with raw apples, they will shrink during baking, creating an unsightly and empty gap between the filling and the top crust. By pre-shrinking the apples on the stove, the filling volume you place in the pie remains consistent, allowing the top crust to sit snugly against the fruit.
- Deeper, More Concentrated Flavor: Cooking the apples with sugar, spices, and a touch of butter or lemon juice allows the flavors to meld and deepen in a way that is impossible to achieve in the oven. You can also taste and adjust the seasoning to your preference before the pie is baked.
- Perfect Texture Control: You can cook the apples to your exact desired level of tenderness—ideally until they are about 85% to 90% done—so they finish cooking perfectly in the oven without turning to mush.
Homemade Pie Crust Recipe: Easy All-Butter Crust
How to Make Apple Pie : The Raw Filling Method: Speed and Tradition
The raw method involves tossing sliced apples with sugar, spices, and a thickener, then piling them directly into an unbaked pie shell. It is undeniably faster and more traditional, cutting out the stovetop step. However, it comes with significant risks. If you choose this route, you must rely on the oven to both cook the apples and reduce the moisture, which can be unpredictable. This method often requires a longer baking time (around 45 minutes or more) at a slightly lower temperature to ensure the apples are tender and the crust does not burn before the filling is set.
The Verdict: For bakers who are serious about learning how to make apple pie with consistent, bakery-quality results, the pre-cooked filling method is highly recommended. It provides greater control over moisture, texture, and flavor, turning a gamble into a reliable process.
How to Make Apple Pie : Crafting the Perfect Pie Crust
A great apple pie is only as good as its crust. The goal is a crust that is simultaneously flaky, tender, and rich with buttery flavor. Achieving this requires attention to a few key principles.
The Importance of Cold
The most critical factor in a flaky pie crust is temperature. All of your ingredients—the butter, the water, and even the flour—should be as cold as possible. When cold butter is cut into the flour, it creates small, distinct pockets. In the heat of the oven, the water in the butter turns to steam, pushing the dough layers apart and creating those desirable flakes. If the butter melts before baking, the dough becomes dense and tough. Use ice-cold water, and if your kitchen is warm, chill your flour and your mixing bowl in the freezer for 15 minutes before starting.
The Butter (and Shortening/Lard) Debate
For the best flavor, an all-butter crust is unparalleled. However, butter has a lower melting point, which can sometimes make the dough more challenging to work with. Many professional bakers and pie-contest winners use a combination of butter for flavor and a small amount of lard or shortening for superior flakiness and a more tender texture. If you are a beginner, an all-butter recipe is perfectly fine, provided you keep everything ice cold.
How to Make Apple Pie : Step-by-Step Crust Technique
- Whisk Dry Ingredients: Combine flour, a pinch of salt, and a tablespoon or two of sugar in a large bowl.
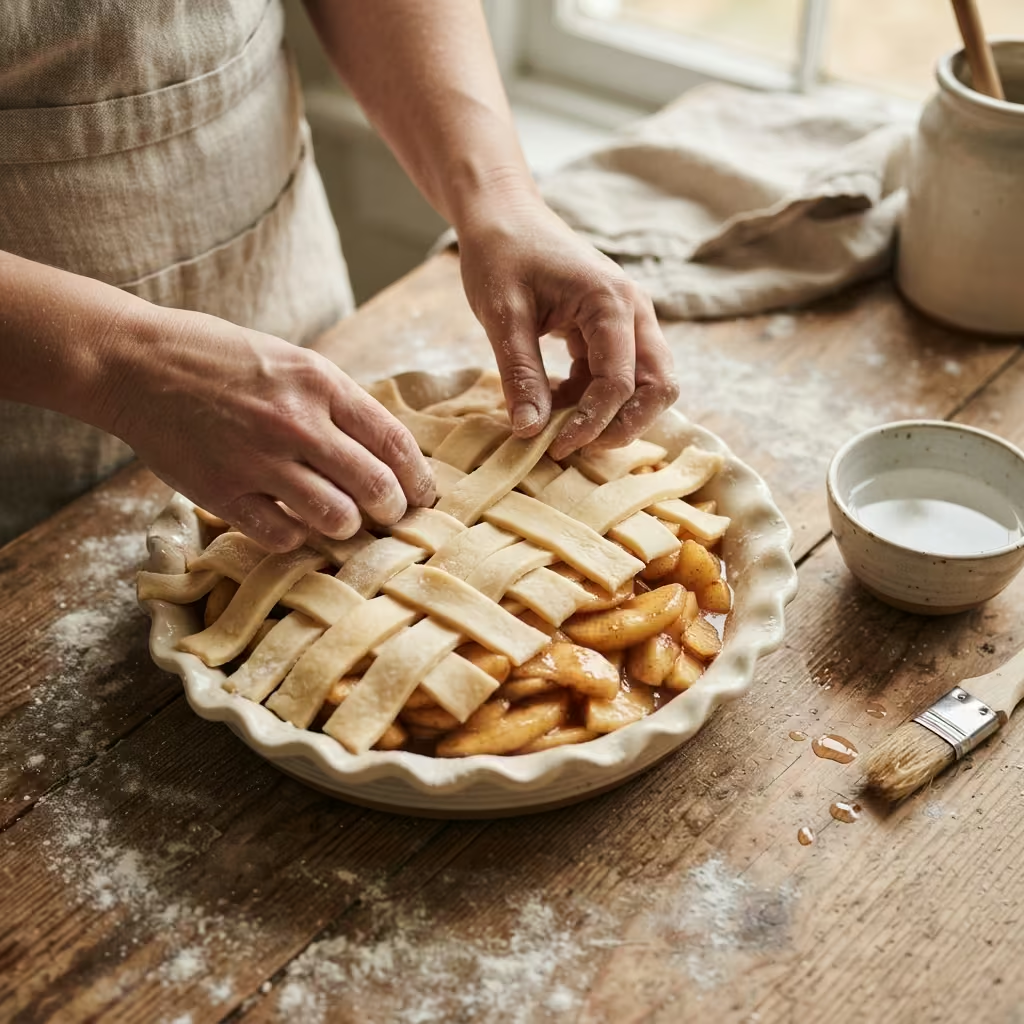
- Cut in the Fat: Add your cold, cubed butter (and shortening, if using). Use a pastry cutter or your fingertips to work the fat into the flour until the mixture resembles coarse crumbs with some pea-sized pieces of butter remaining.
- Add Water Gradually: Sprinkle ice-cold water, one tablespoon at a time, over the mixture. Toss with a fork until the dough just begins to come together. Do not overwork it. You want to add just enough water for the dough to hold its shape when squeezed.
- Chill the Dough: Form the dough into two flat disks, wrap them tightly in plastic, and refrigerate for at least 30 minutes to an hour. This allows the gluten to relax and the butter to re-chill, making the dough easier to roll out.
How to Make Apple Pie : The Blind Bake, Your Insurance Against Sogginess
For a double-crust pie with a juicy filling, blind-baking (partially baking) the bottom crust is a crucial step. It creates a moisture barrier that helps prevent the filling from turning the bottom crust soggy. To blind-bake, line the chilled bottom crust with parchment paper, fill it with pie weights or dried beans, and bake at 375°F for about 15 minutes, until the edges are just beginning to turn golden. Remove the weights and parchment before adding your filling.
How to Make Apple Pie : Assembling and Baking, Bringing It All Together
With your components ready, it is time to assemble. This is where the art of how to make apple pie comes to life.
Filling the Pie
Spoon your cooled, pre-cooked apple filling into the blind-baked bottom crust. If you are using the raw method, pile the apple mixture in, mounding it slightly in the center. For a richer flavor, dot the top of the filling with a few small pieces of cold butter before adding the top crust.
The Top Crust and Lattice
You can top your pie with a solid crust, a lattice, or a crumb topping (for a Dutch apple pie). For a solid top crust, lay the rolled-out dough over the filling, trim the overhang, and crimp the edges to seal. Be sure to cut several slits in the top to allow steam to escape.
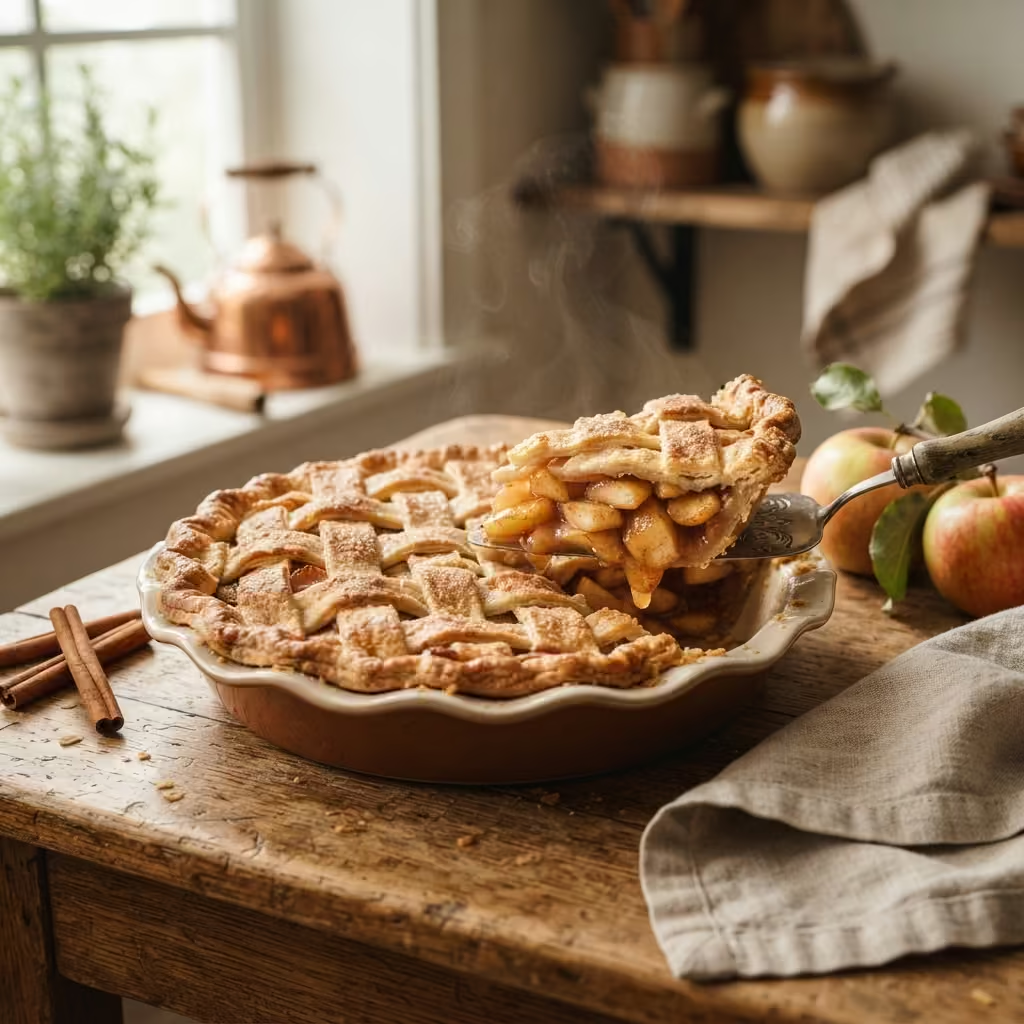
For a lattice top, cut the rolled dough into strips about 1 inch wide. Lay half the strips across the pie in one direction. Then, fold back every other strip halfway, place a perpendicular strip across the unfolded ones, and unfold the folded strips back over it. Repeat this weaving process until the lattice is complete.
Baking for a Golden, Bubbling Finish
Preheat your oven to a high temperature, typically 425°F (220°C). Place the pie on a baking sheet lined with foil to catch any drips. Bake at this high heat for 20 minutes to set the crust, then reduce the temperature to 350°F (175°C) and continue baking for another 30 to 40 minutes, or until the filling is visibly bubbling through the vents or lattice and the crust is a deep golden brown. If the edges of the crust are browning too quickly, cover them with strips of aluminum foil or a pie shield.
How to Make Apple Pie : Troubleshooting Common Apple Pie Problems
Even with the best intentions, things can go wrong. Here is how to diagnose and fix the most common issues when learning how to make apple pie.
Delicious Variations: Beyond the Classic
Once you have mastered the classic, you can explore the versatile world of apple pie variations. Learning how to make apple pie also means learning how to adapt it to your tastes.
Dutch Apple Pie with Streusel Topping
A Dutch apple pie replaces the top crust with a buttery, crumbly streusel topping made from flour, sugar, and butter. This variation is slightly easier for beginners, as it requires only a bottom crust. For an indulgent twist, try a Caramel Dutch Apple Pie, where the apples are caramelized with sugar and butter before baking, and the streusel is studded with toffee bits.
Salted Caramel Apple Pie
Drizzle a generous amount of homemade or high-quality store-bought salted caramel sauce over the apple filling before sealing the pie with a top crust or lattice. The salty, rich caramel complements the tart apples beautifully and creates a stunning, gooey center.
How to Make Apple Pie variations : Apple Crumble Pie
Similar to a Dutch pie, an apple crumble pie features a bottom crust and a streusel-like topping, but the topping often includes oats and nuts for extra texture and crunch. It is a rustic, comforting dessert that is perfect for a casual gathering.
Serving and Storing Your Masterpiece
How to Serve Apple Pie
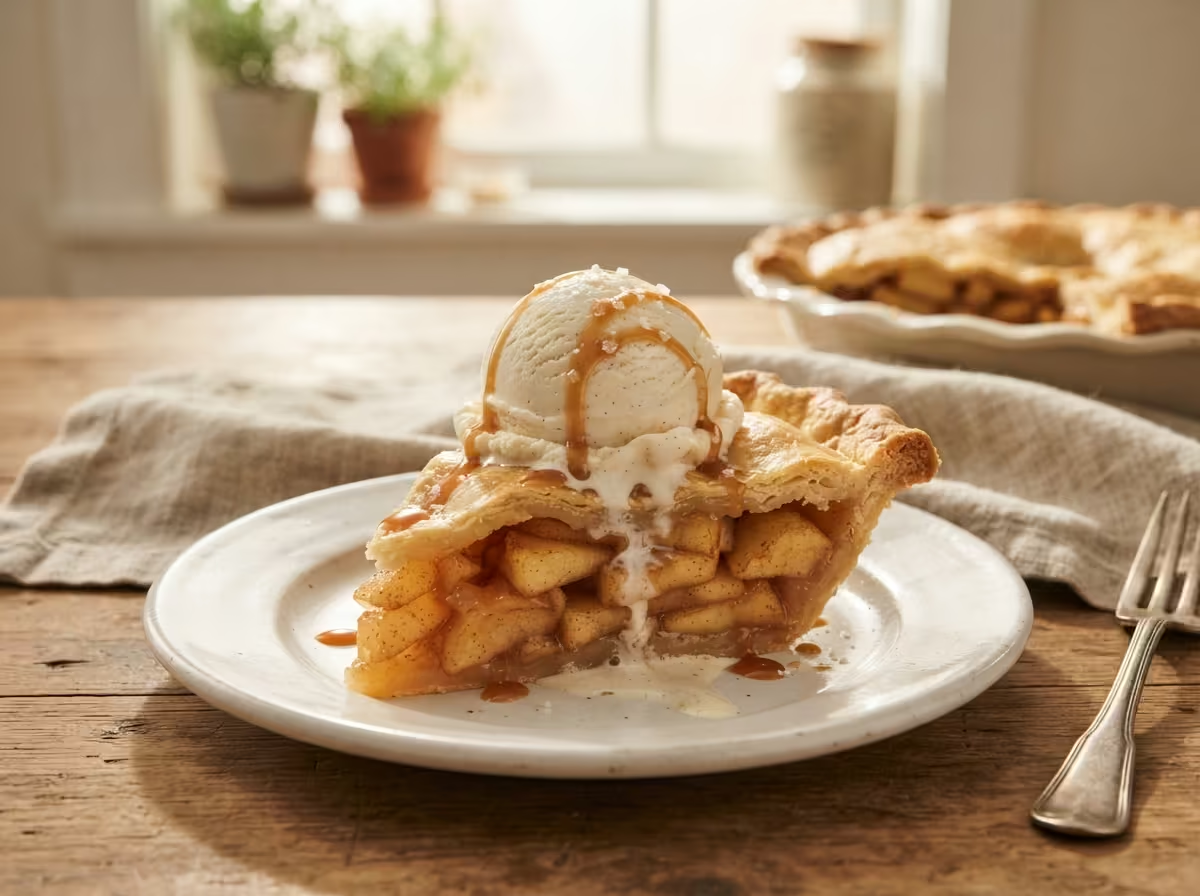
The classic serving suggestion is a warm slice of pie with a scoop of vanilla ice cream melting over the top—à la mode. However, there are other traditional and delicious pairings. In New England and Vermont, a thick slice of sharp cheddar cheese is the accompaniment of choice; the salty, tangy flavor of the cheese contrasts perfectly with the sweet-tart apples. A dollop of freshly whipped cream or a drizzle of warm caramel sauce are also excellent choices.
Storage and Freezing
- At Room Temperature: A baked fruit pie like apple pie can be stored covered at room temperature for up to two days.
- In the Refrigerator: For longer storage, wrap the pie tightly or place it in an airtight container and refrigerate for up to four days.
- Freezing: You can freeze apple pie successfully, either baked or unbaked. For a baked pie, cool it completely, wrap it tightly in plastic wrap and then foil, and freeze for up to two to three months. To serve, thaw overnight in the refrigerator and reheat in a 350°F oven until warmed through. An unbaked pie can be assembled and frozen solid before baking; bake it directly from frozen, adding about 15–20 minutes to the baking time.
Learn more :
Frequently Asked Questions About How to Make Apple Pie
Do I have to peel the apples for apple pie?
Yes, for a classic apple pie, it is highly recommended to peel the apples. The skin can be tough and does not break down during baking, leading to an unpleasant texture in the filling.
Can I use a store-bought pie crust?
Absolutely. A high-quality, all-butter store-bought pie crust can save time without sacrificing too much flavor. However, making your own crust gives you control over the ingredients and is a rewarding part of how to make apple pie from scratch.
How do I know when my apple pie is done?
The most reliable indicator is the filling. It should be visibly bubbling through the vents or lattice, not just simmering. The crust should be a deep, rich golden brown. If the crust is browning too fast but the filling isn’t bubbling, cover the entire pie loosely with foil and continue baking.
What is the best thickener for apple pie filling?
Cornstarch is a popular choice because it creates a clear, glossy filling. Tapioca starch or quick-cooking tapioca also works well and is more freeze-stable. All-purpose flour is a traditional option but can sometimes leave a slightly cloudy filling.
Can I make apple pie ahead of time?
Yes. You can prepare the pie dough and refrigerate it for up to three days or freeze it for a month. You can also make the apple filling a day or two in advance and store it in the refrigerator. Assemble and bake the pie on the day you plan to serve it for the best results.